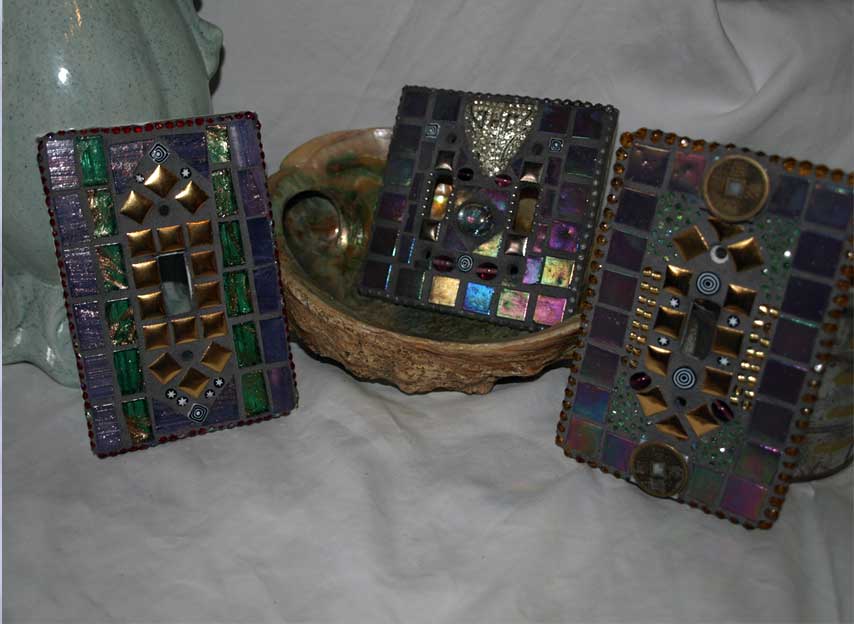
LIGHT SWITCH COVERS – SMALL BUT MIGHTY

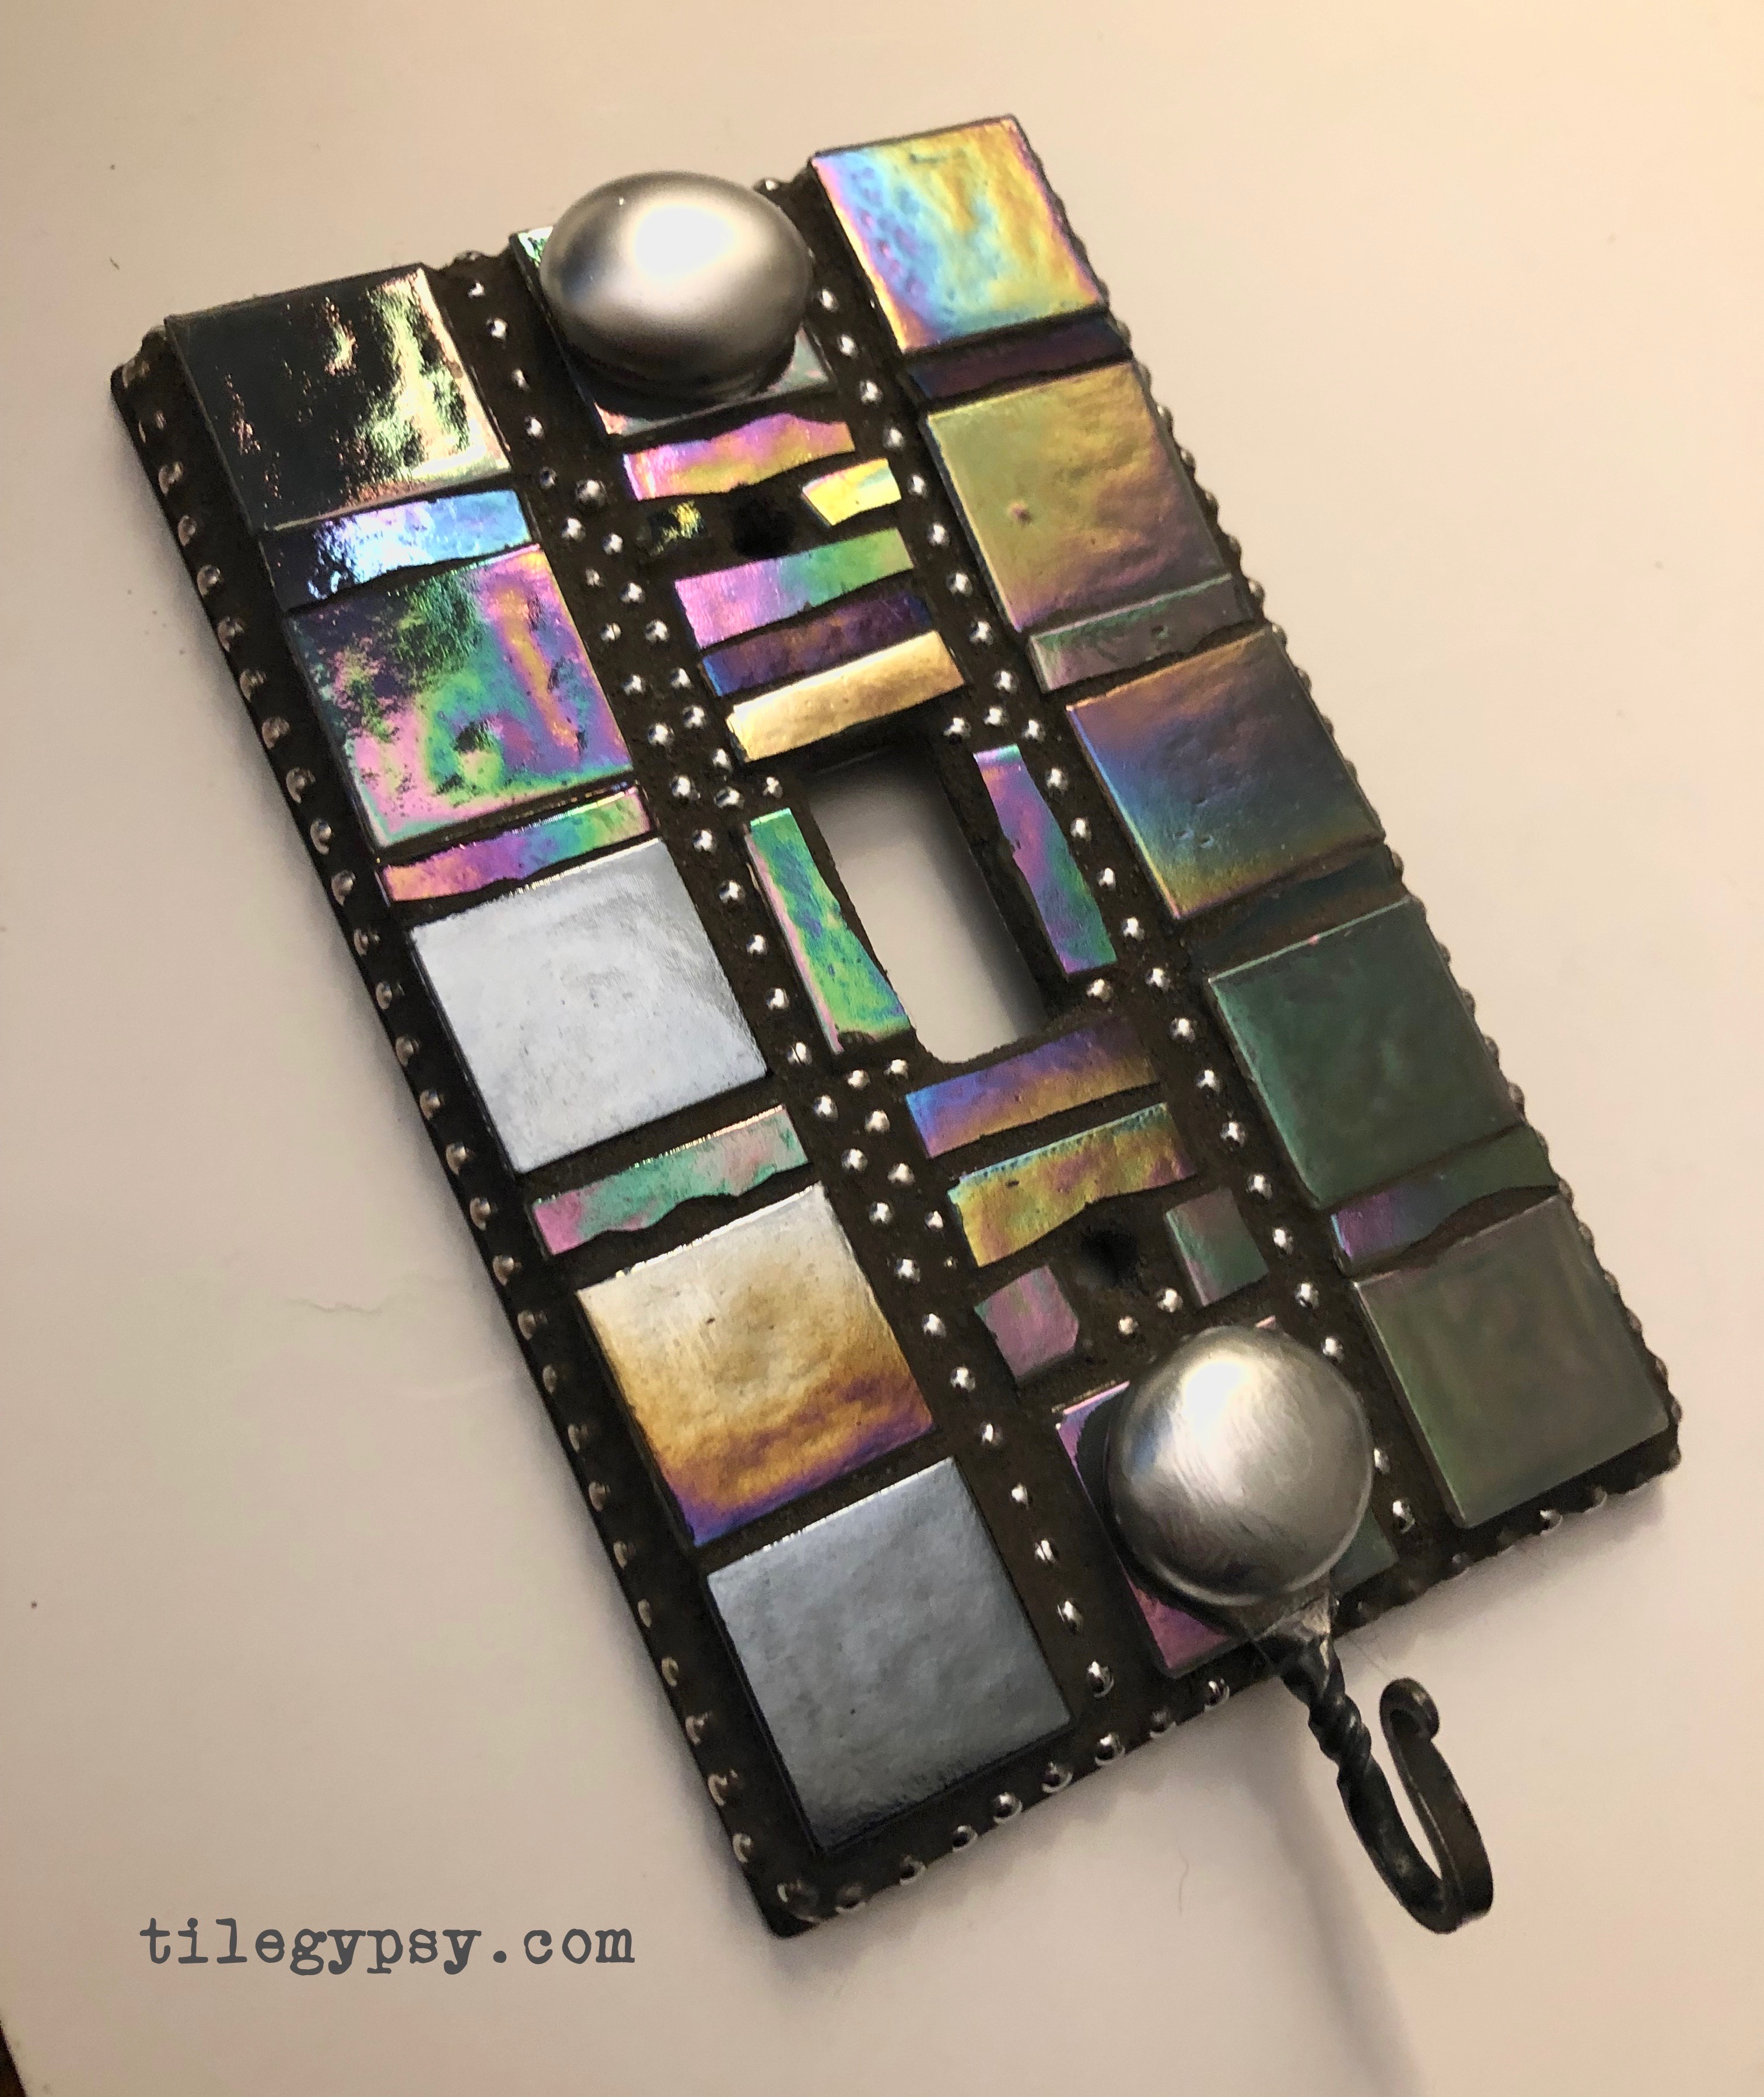
Iridescent Walls

Ballerina Girl

Two Nickels Sold

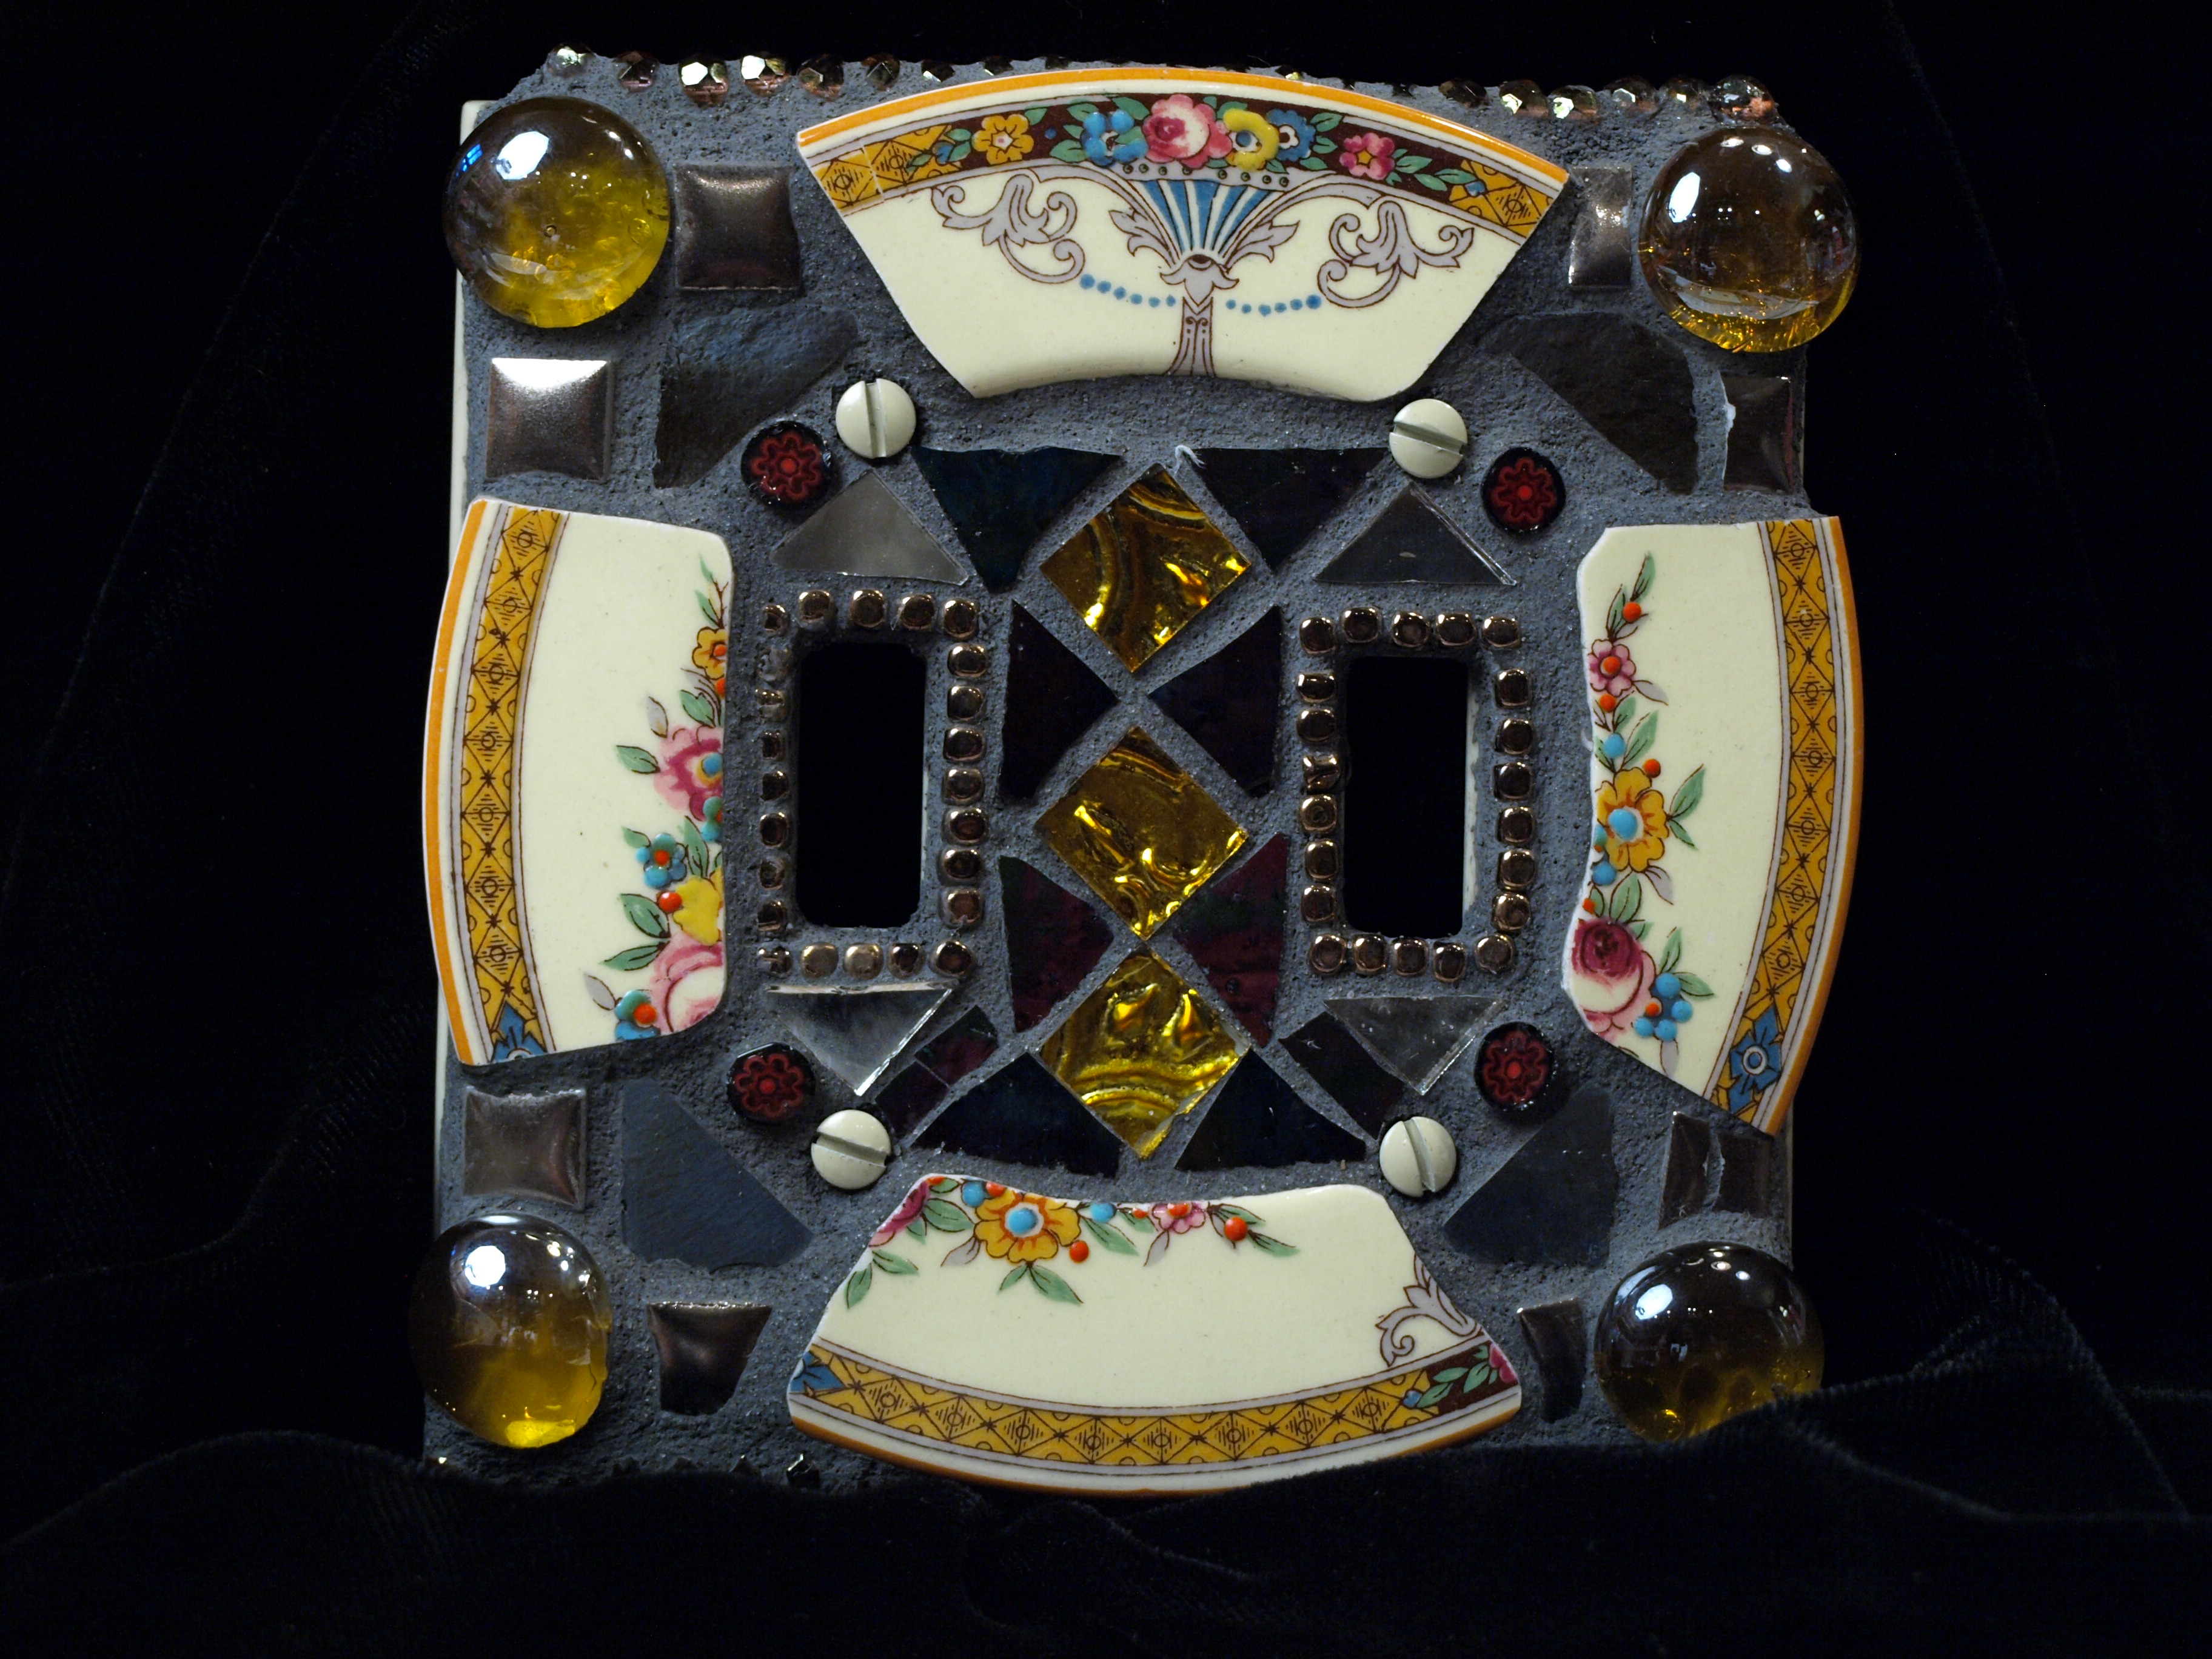
Grandma’s Hands Sold

Switchplate Cover Art Sold

Catalyst

It’s a fun process.

Bubbes Brooch – SOLD

Purple & Gold Sold

Sage & Gold Sold

Lucky Coin Sold

Tapestry Sold

SOLD

Alice’s Restaurant I

Alice’s Restaurant II – 2013

Gypsy Soul • GIFTED

Zoey Before

Zoey After Sold

Black and White Era

5 o’clock somewhere. SOLD.

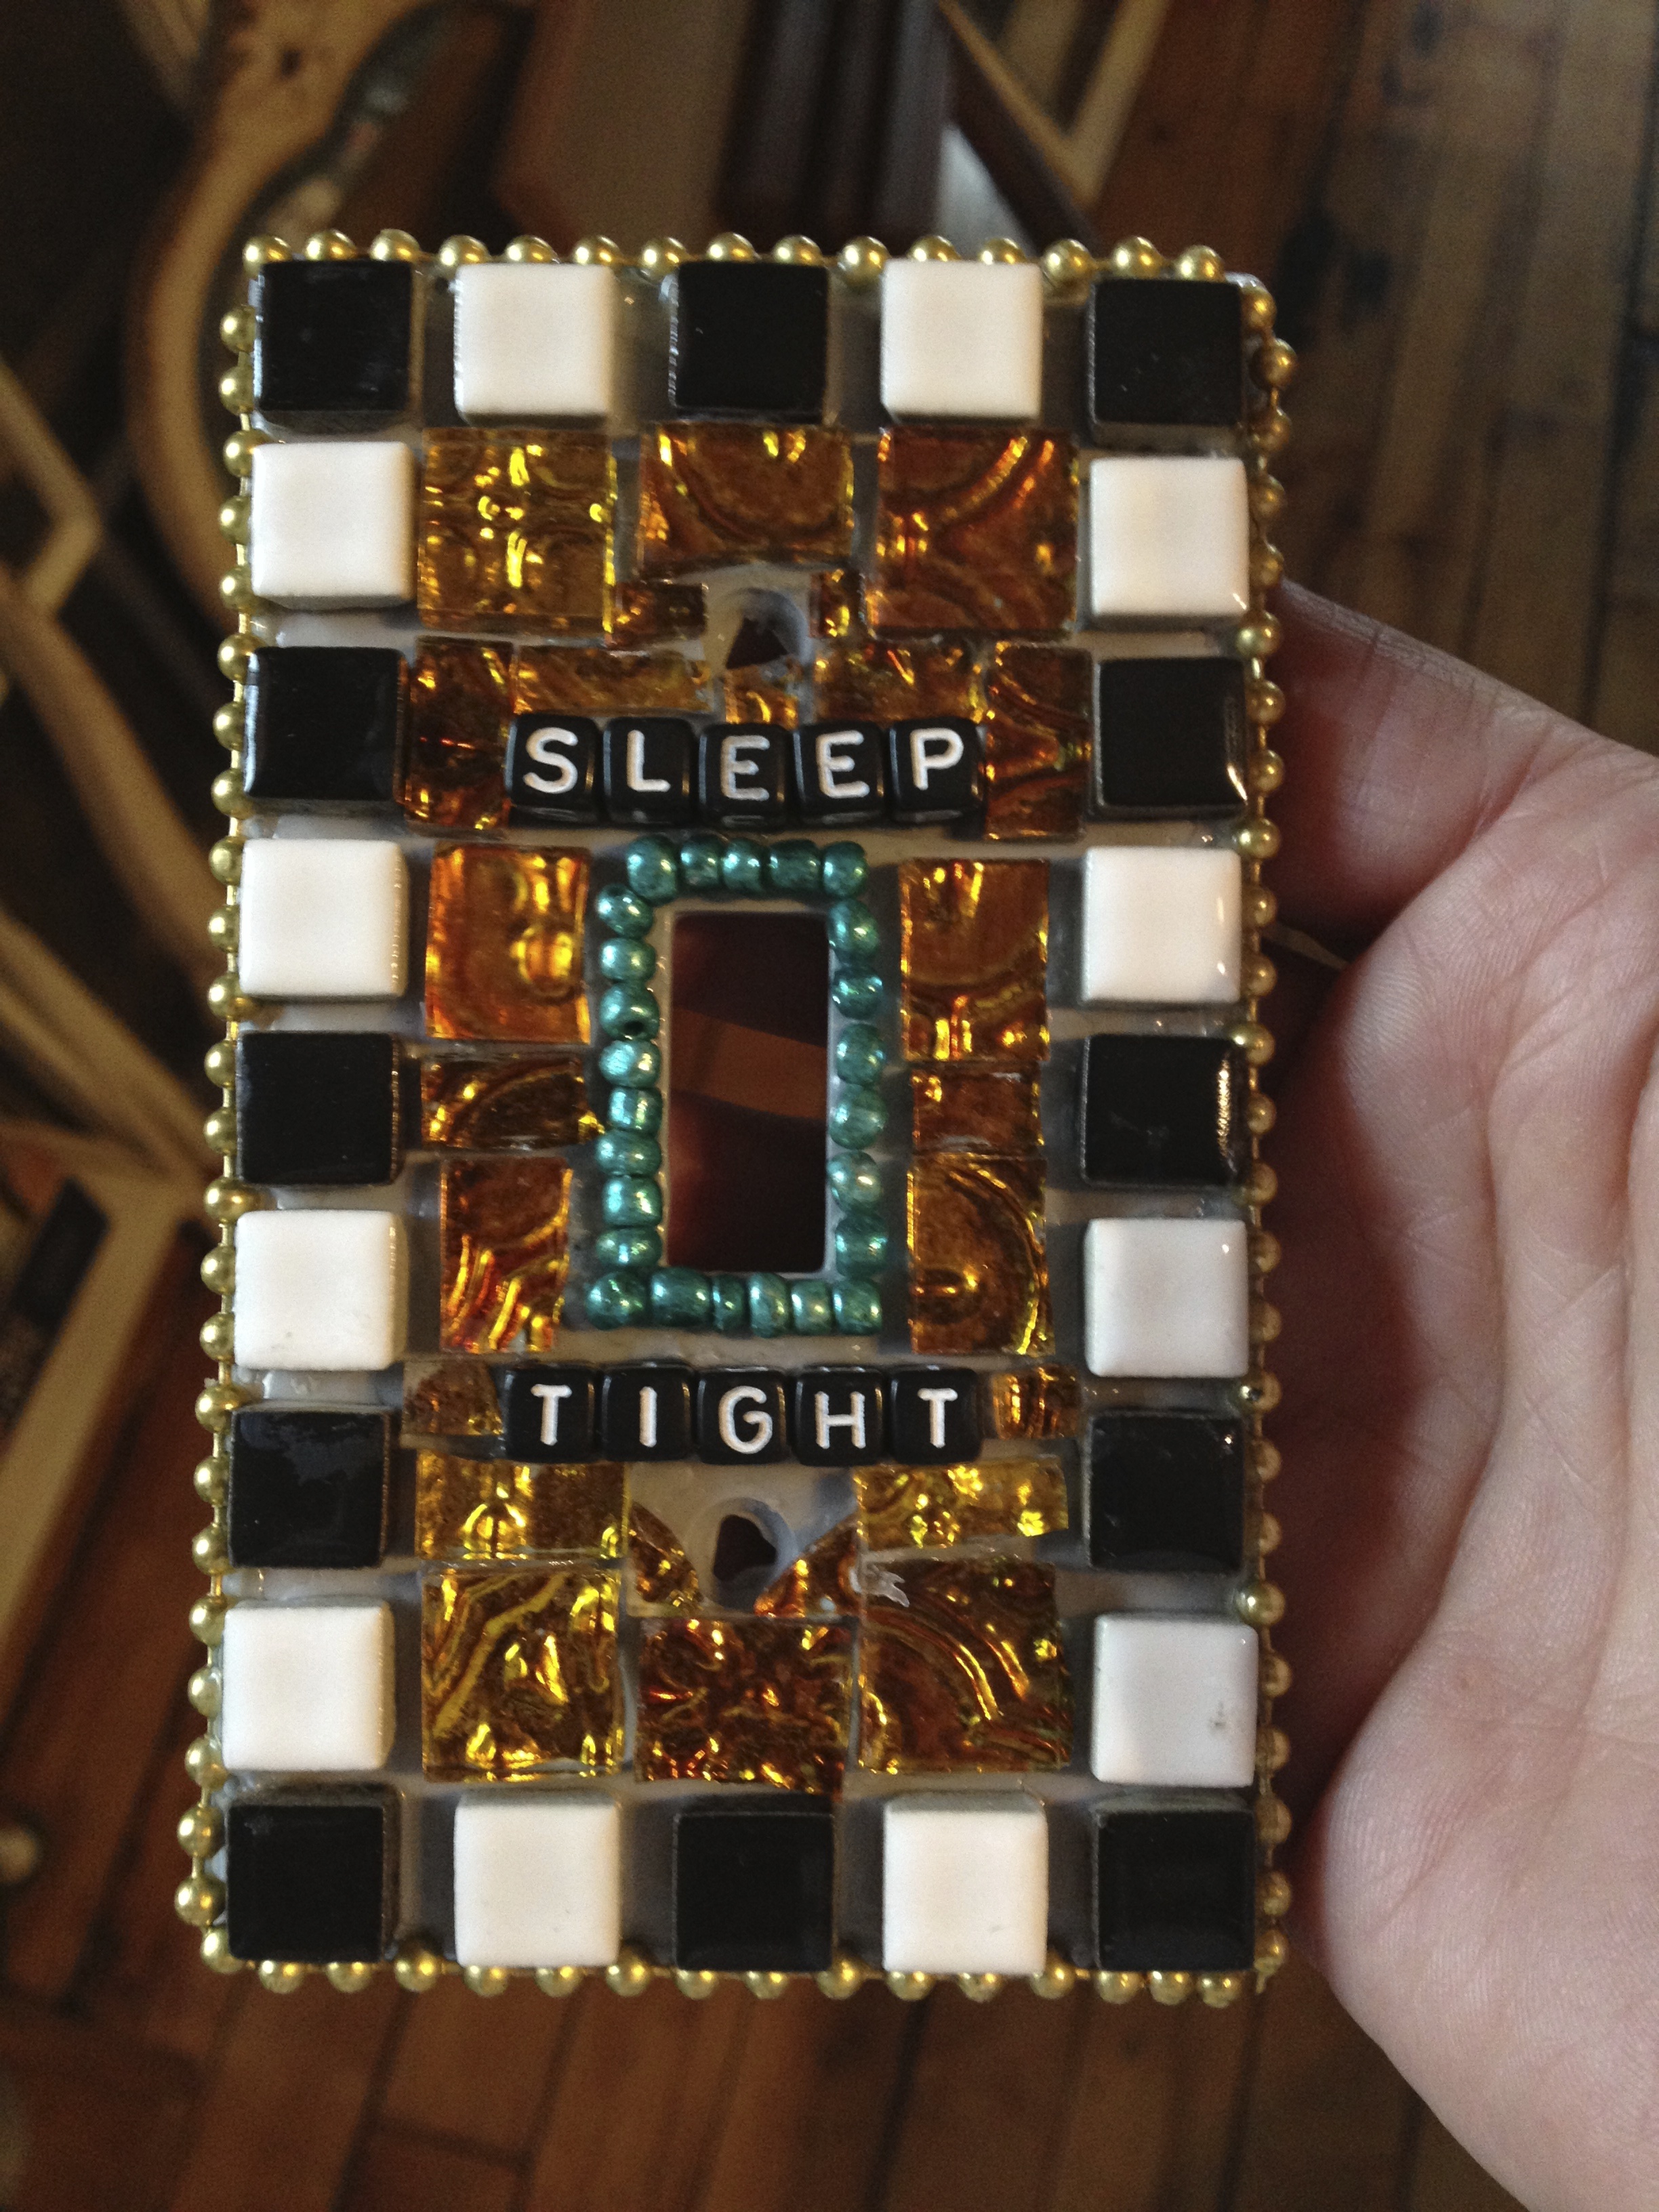
Sleep Tight Sold

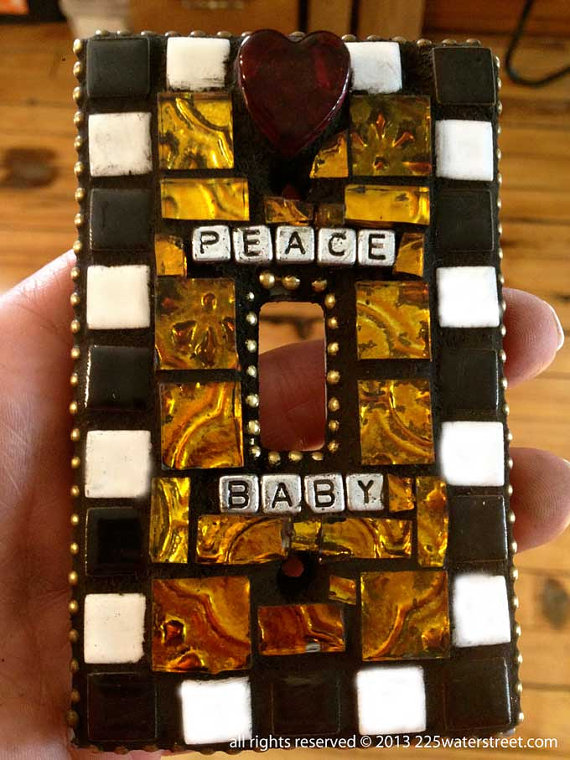
Peace Baby

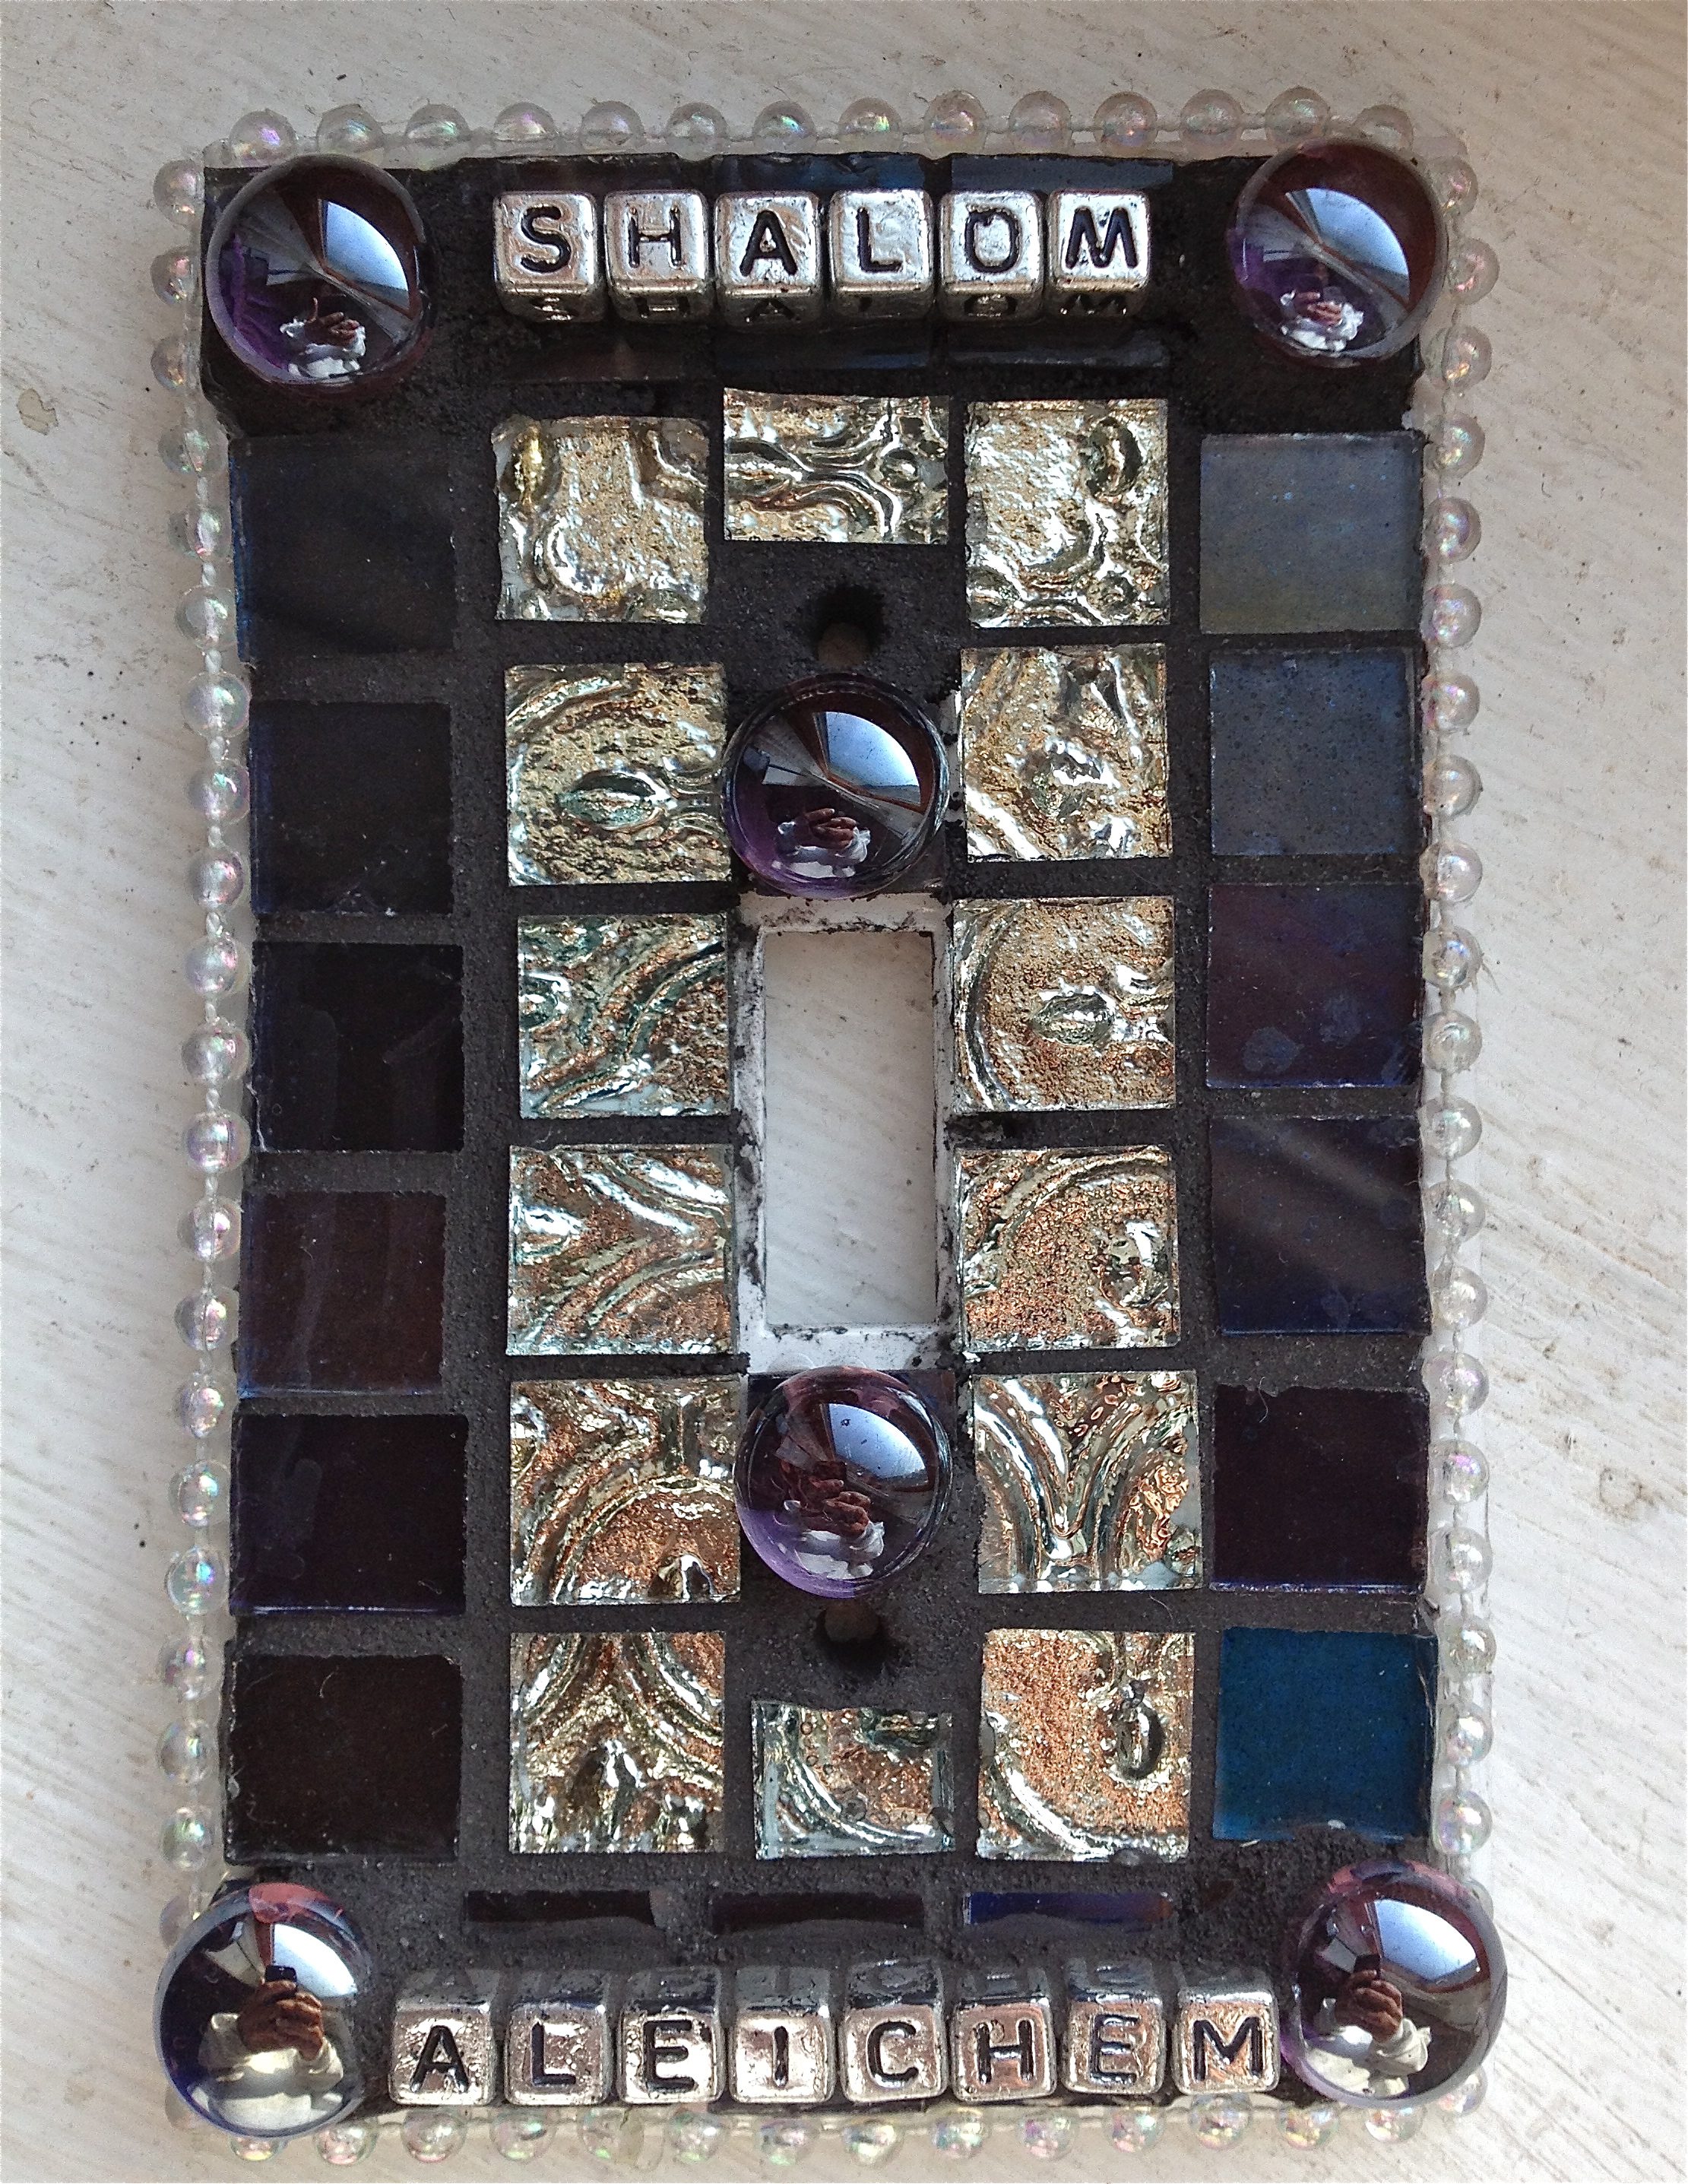
Shalom Gifted

Red, White & Blue Sold

Fire & Ice Sold

Shabby Girl Sold

Blue Willow Sold

Peaceful Sold

Watch Me Sold

Student Art

Student Art

Student Art

So beautiful and very smart. © mara lee

Have a Day!
![]()