The mosaic tile mirrors are still wrapped and since there is nowhere to hang them I’m going to pretend that they look exactly as they did when I packed them a year ago. It is, what it is – at least I took photos. 😉
Lady and the Tramp – Mosaic Tile Dog Mirror ’08MatildaMatilda’s Birdland Work in ProgressMatilda’s BirdlandMatilda’s BirdlandMatilda’s Birdland
Unfortunately, a mosaic tile pitcher didn’t survive the move but the photos of it did so there’s that.
“Life isn’t about finding yourself. Life is about creating yourself.” – George Bernard ShawIt was a good one
“How wonderful! How wonderful! All things are perfect, exactly as they are.” ― Buddha
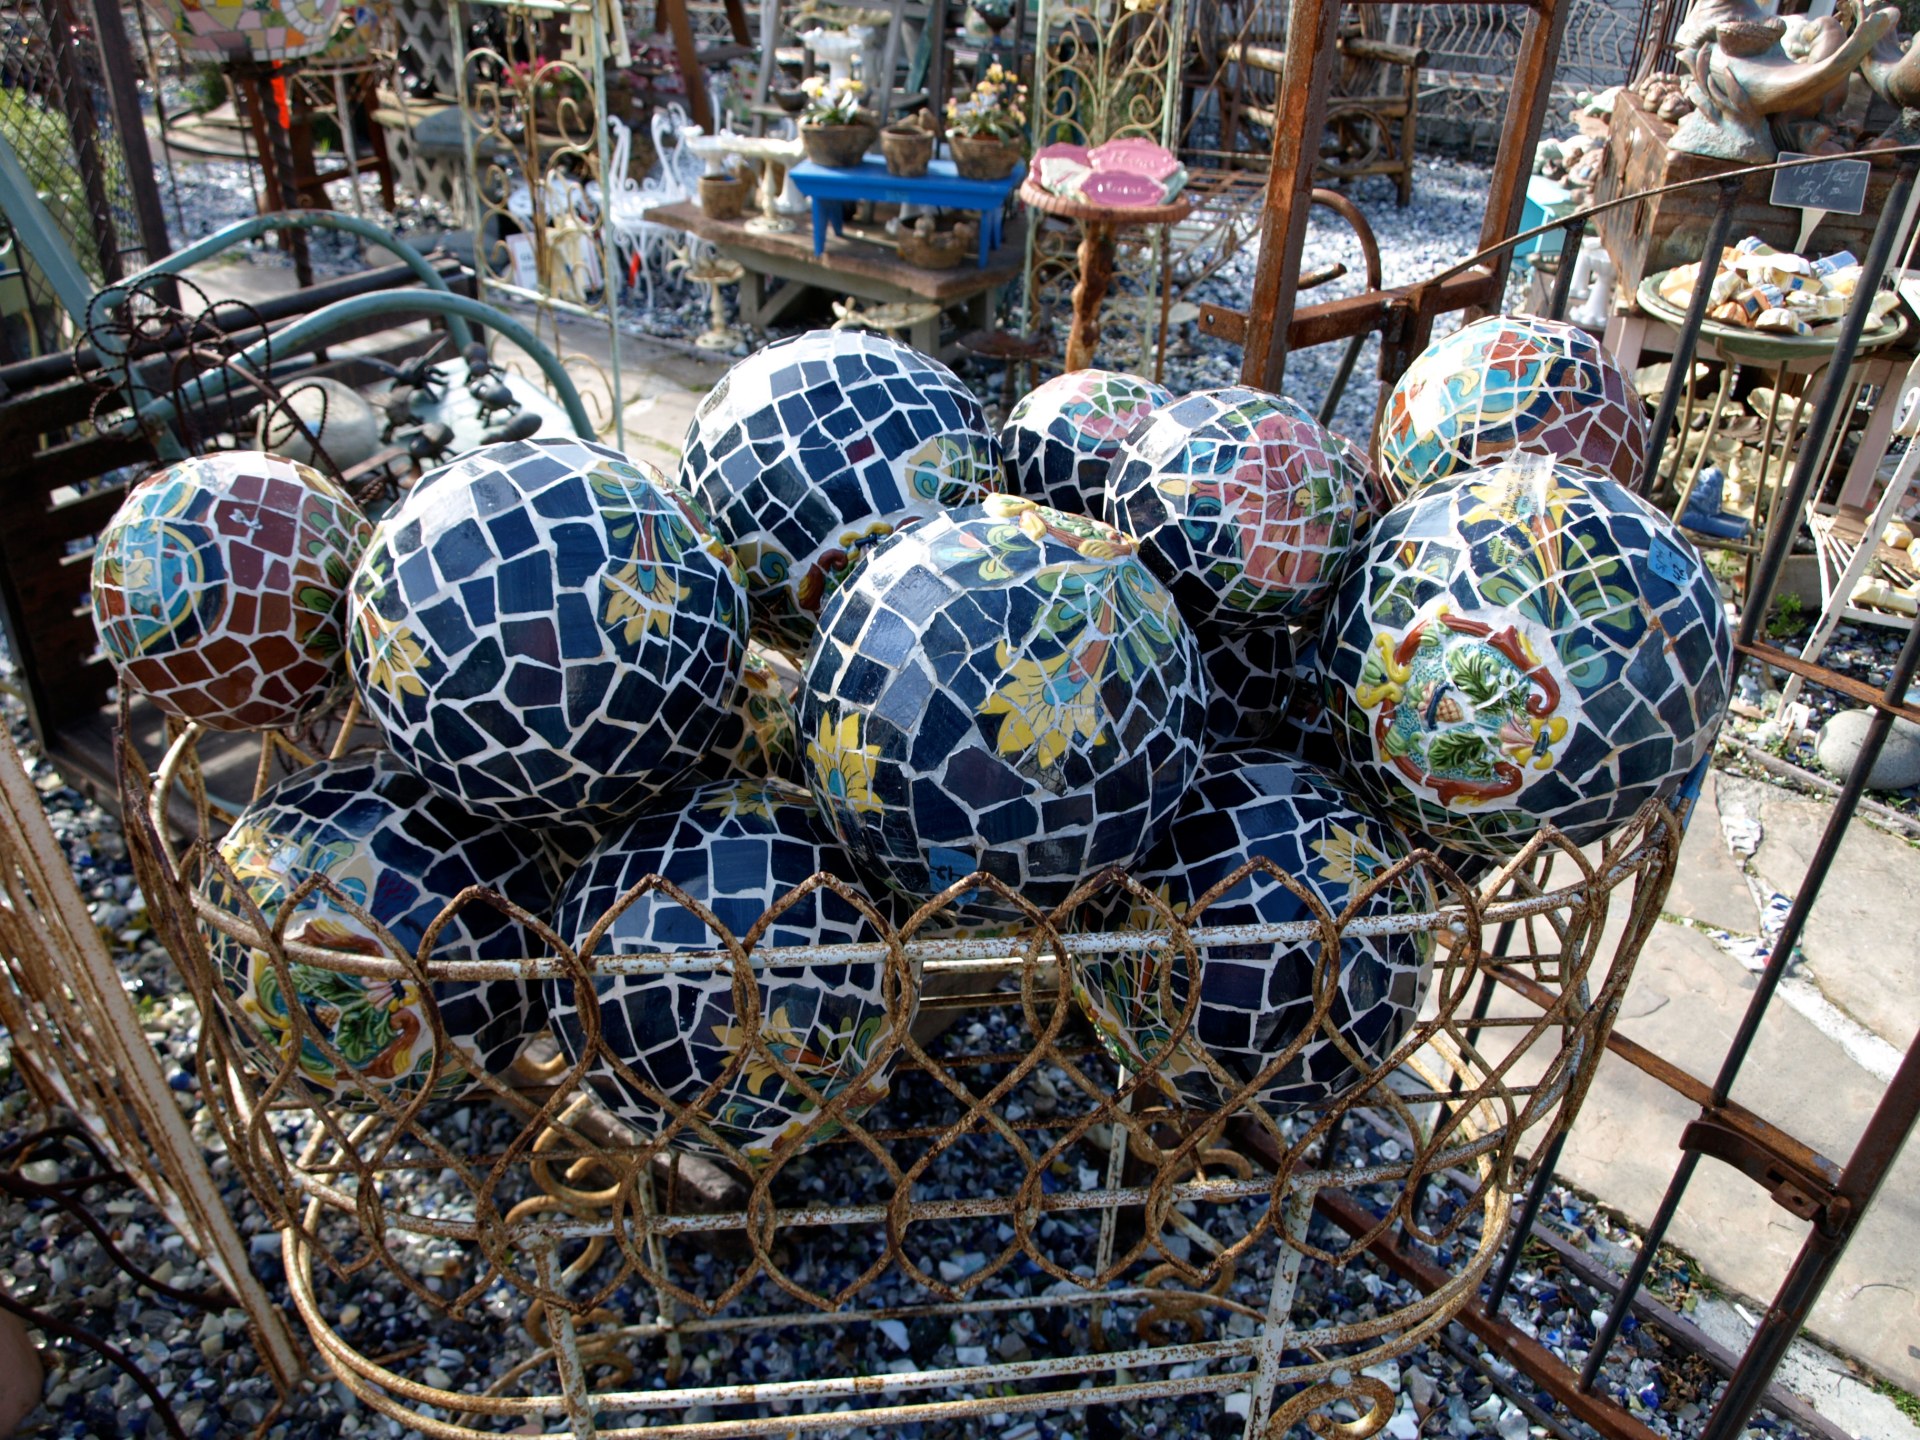
Val was in a gluing frenzy with bowling balls and it immediately brought back fond memories of battling a 15 pound bowling ball while trying to glue things to it. Truth be told … the hardest part of mosaic tiling a bowling ball is … finding the bowling ball. Now that she’s got me going … anyone have an old bowling ball that they want to get rid of ? 🙂
Mosaic tiled bowling balls or mosaic tiled gazing balls … are time consuming but pretty easy to create if you prepare the surface properly and use the right adhesive.
MOSAIC TILE BOWLING BALL ART SUPPLIES – you’ll need …
Bowling Ball or round objects in stone, terracotta or concrete
Flat Tile Materials in ceramic, stained glass, vintage china, mirror and glass gems
Best Adhesives for the job could be …Thin Set or a Weatherproof/Waterproof Adhesives like … GE II Silicone, E6000 or Clear Liquid Nails.
Sandpaper in a medium grade is fine.
Sanded grout – FYI … darker shades of grout won’t show the wear that lighter shades of grout will.
Grout Additive ( to mix grout instead of water. Makes the grout more flexible and can help prevent cracking)
Grout or Masonry clear sealant that can be found at tile and box stores.
MOSAIC TILE GAZING BALL PROJECT
Clean the ball. Let it dry.
Seal the finger holes – use your imagination with what – so they’re level with the curve of the ball.
Rough up the ball a bit with the sandpaper … or you can cover the ball with tile mesh before gluing to make gluing easier.
Time to put on safety glasses for cutting tile or glass.
Prop the bowling bowl on a large weighted coffee can … or something comparable. If you have a heavy duty Lazy Susan … bonus fry.
Organize mosaic tile materials and choose pieces that are close to the same thickness, for uniformity.
Using a wheeled tile nipper, mosaic tile cutter or glass cutter … cut the tile, glass or china pieces before you start gluing. If pieces don’t lie flat, cut them smaller.
Grab your adhesive and start gluing one side of the ball. (FYI…Adhesives for this project are TOXIC and is best glued in a very well ventilated area or outside.)
If pieces don’t lie flat, cut them smaller.
A little patience is needed about now. Relax, it’s round. It’s not going to be done in a day.
This project takes multiple days. Glue one side of the bowling ball. Let it dry for at least 24 hours. Longer is always better!
Glue the other side of the bowling ball and let that dry for a minimum of 24 hours. Again, longer drying time is always better.
When completely dry … Grout … READ the directions on the grout bag or box, then … mix the Sanded Grout with grout additive to an oatmeal consistency … again … reading the directions really helps.
Grout one side of the bowling ball and let it set up for a bit before you start removing and smoothing out the grout.
Grout the other side of the ball and let it set up for a bit before you start removing and smoothing out the grout.
Keep smoothing and polishing until your satisfied with your work.
You can cover the ball with a dry cleaning bag (or something comparable) to allow the grout to dry a bit slower to prevent the grout cracking. Hopefully;)
I’d wait at least 36 hours for drying time.
Uncover and polish with a soft cloth.
Let it cure – I did for a few more days and polished it everyday.
When grout is dry seal the grout with grout sealer or masonary sealant. Read the directions.
Let dry for 24 hours. Polish again. Make a wish;)
Gaze.
FYI … Mosaic Tiled Gazing Balls and handmade mosaic tile garden art has to be brought inside in the colder states and it doesn’t hurt to reseal your gazing ball every season, no matter where you live. Cheers.
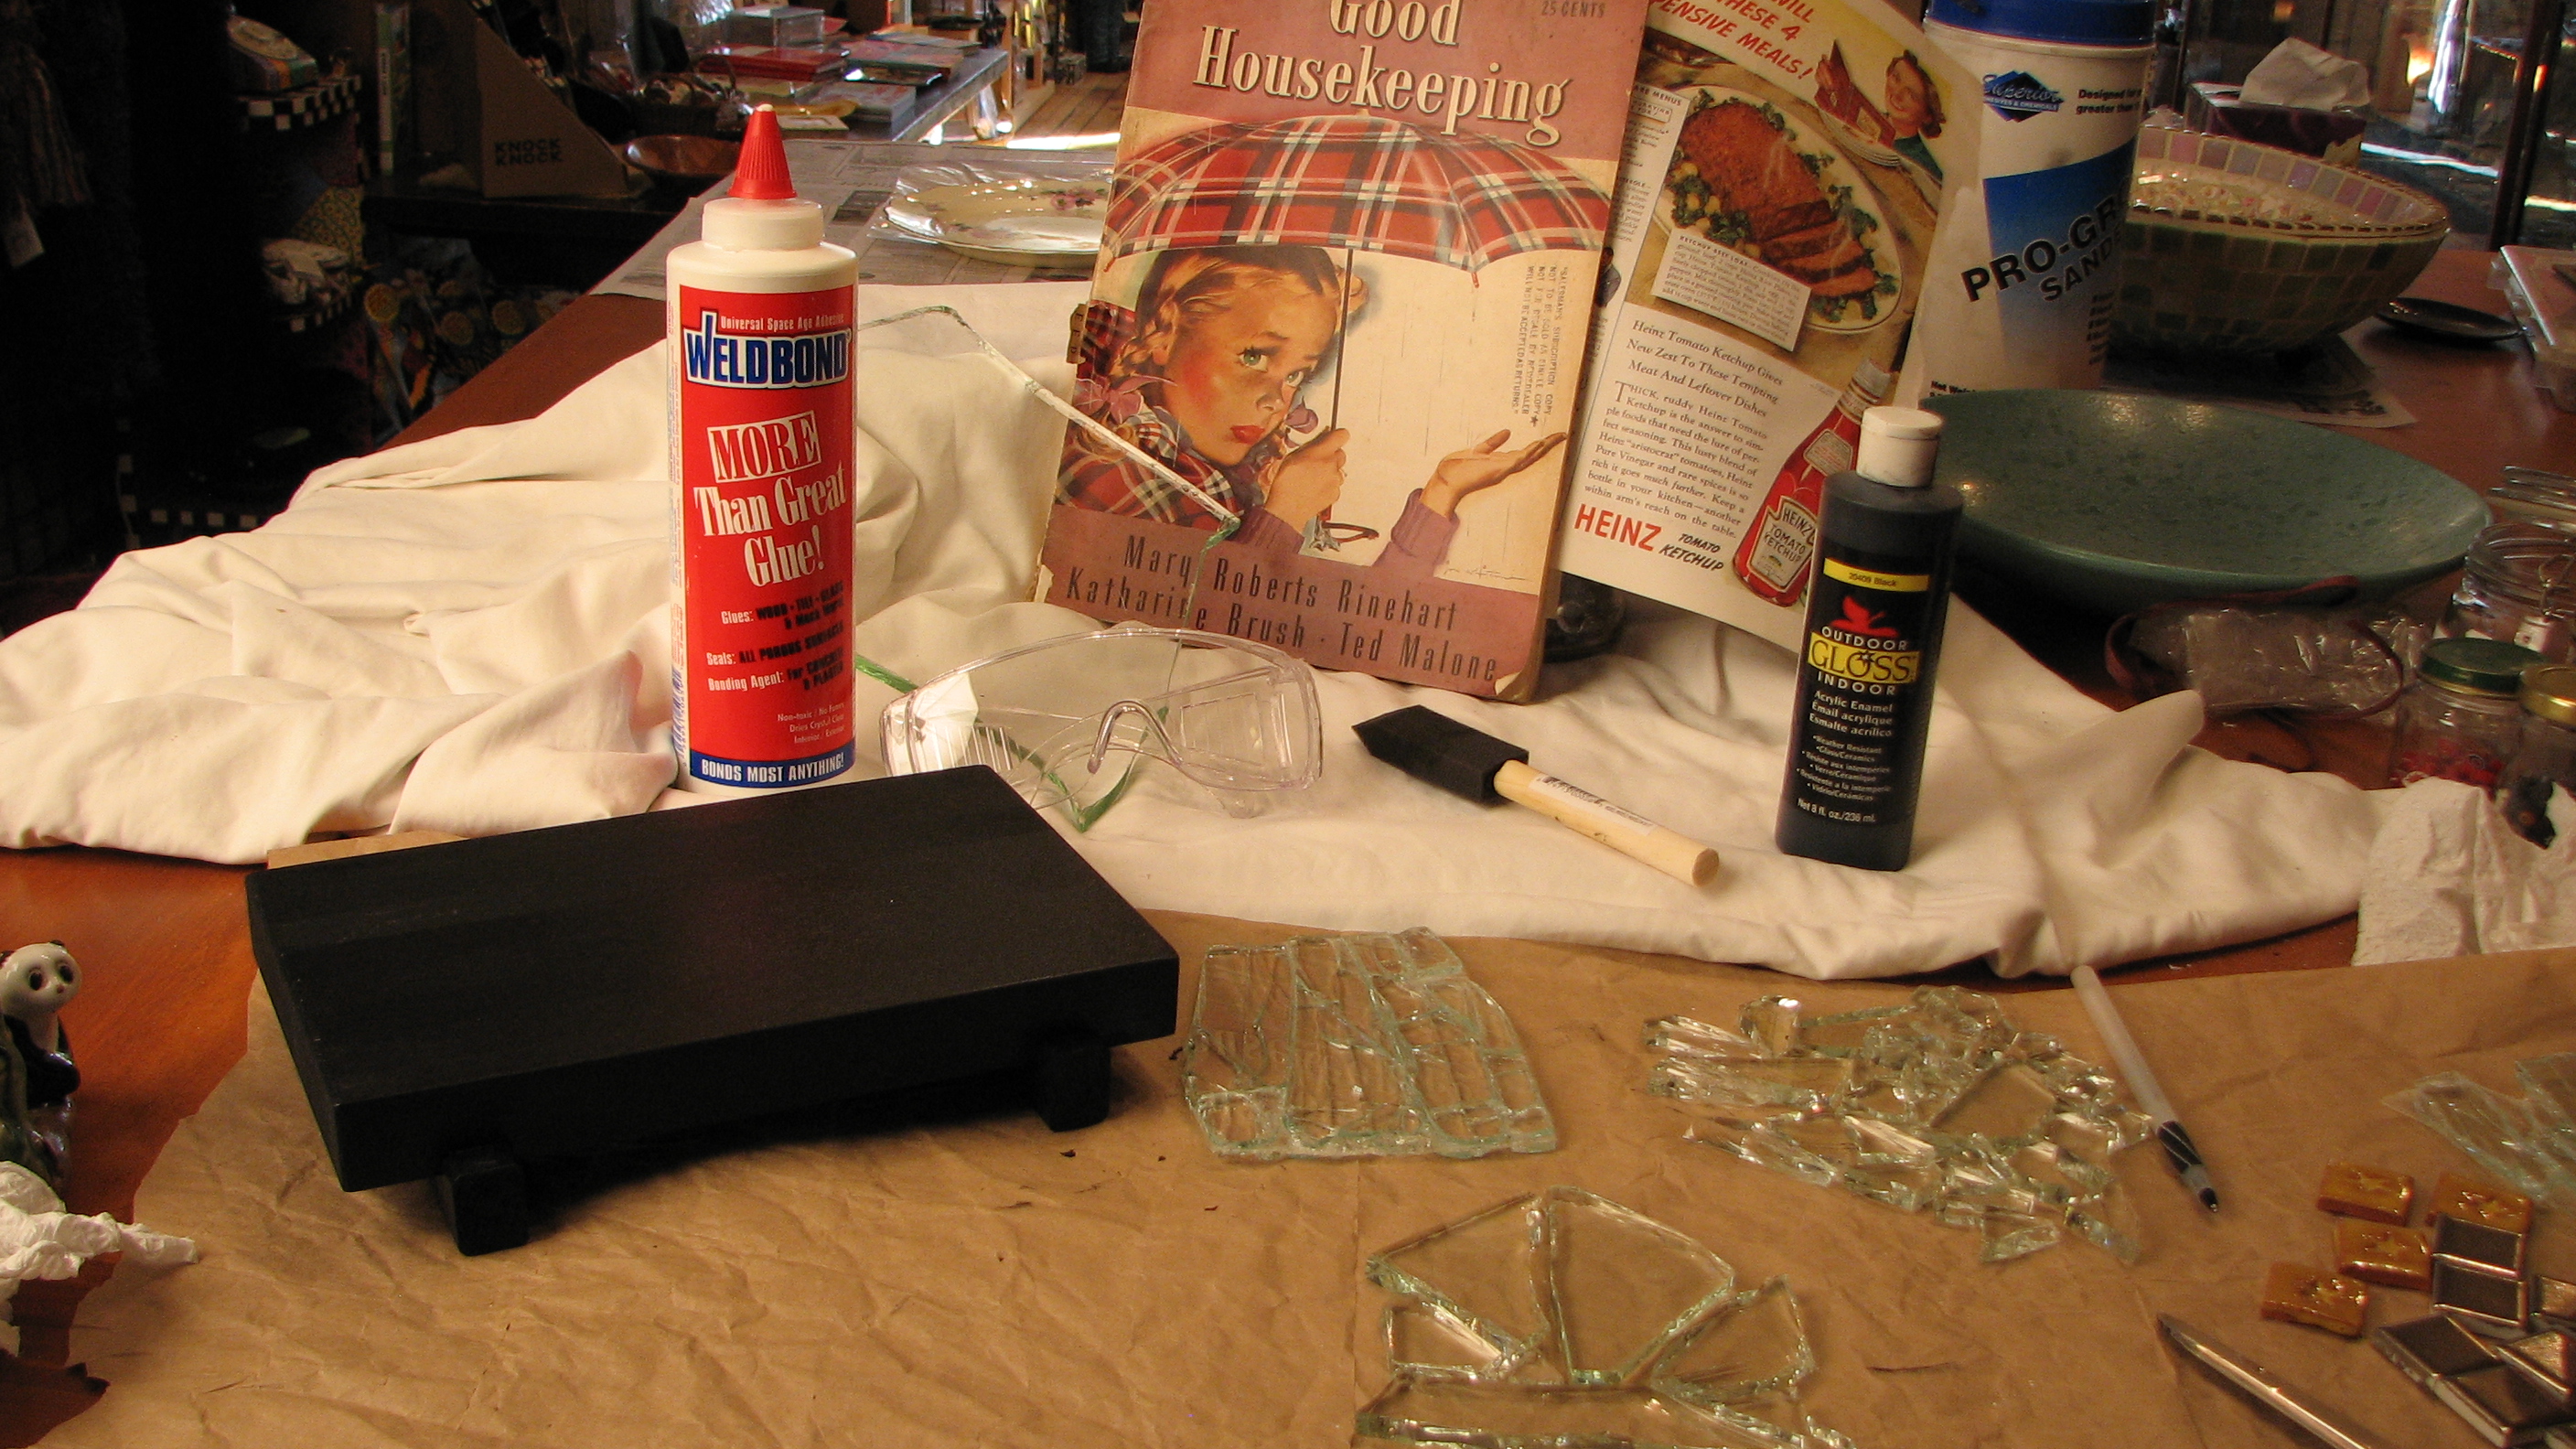
Decoupage was my first love and after attending a crash glass class using a 2-part epoxy … it got me thinking … why go to all the trouble working with toxic adhesives when I can do the same thing with Weldbond.
Feeling it!
Painted the trivet and let it dry overnight. Glued the paper to the trivet with Weldbond and let it dry. Don’t get carried away with the glue. Just brush on enough glue to attach the papers and let it dry before adding a couple more layers of glue, letting it dry each time.
laying out the design
When the papers were dry, I glued the tile border with Weldbond. Then filled in the rest with the glass by smearing Weldbond onto the back of each glass piece so it won’t puddle and refuse to dry clear.
the secret is to let stuff dry
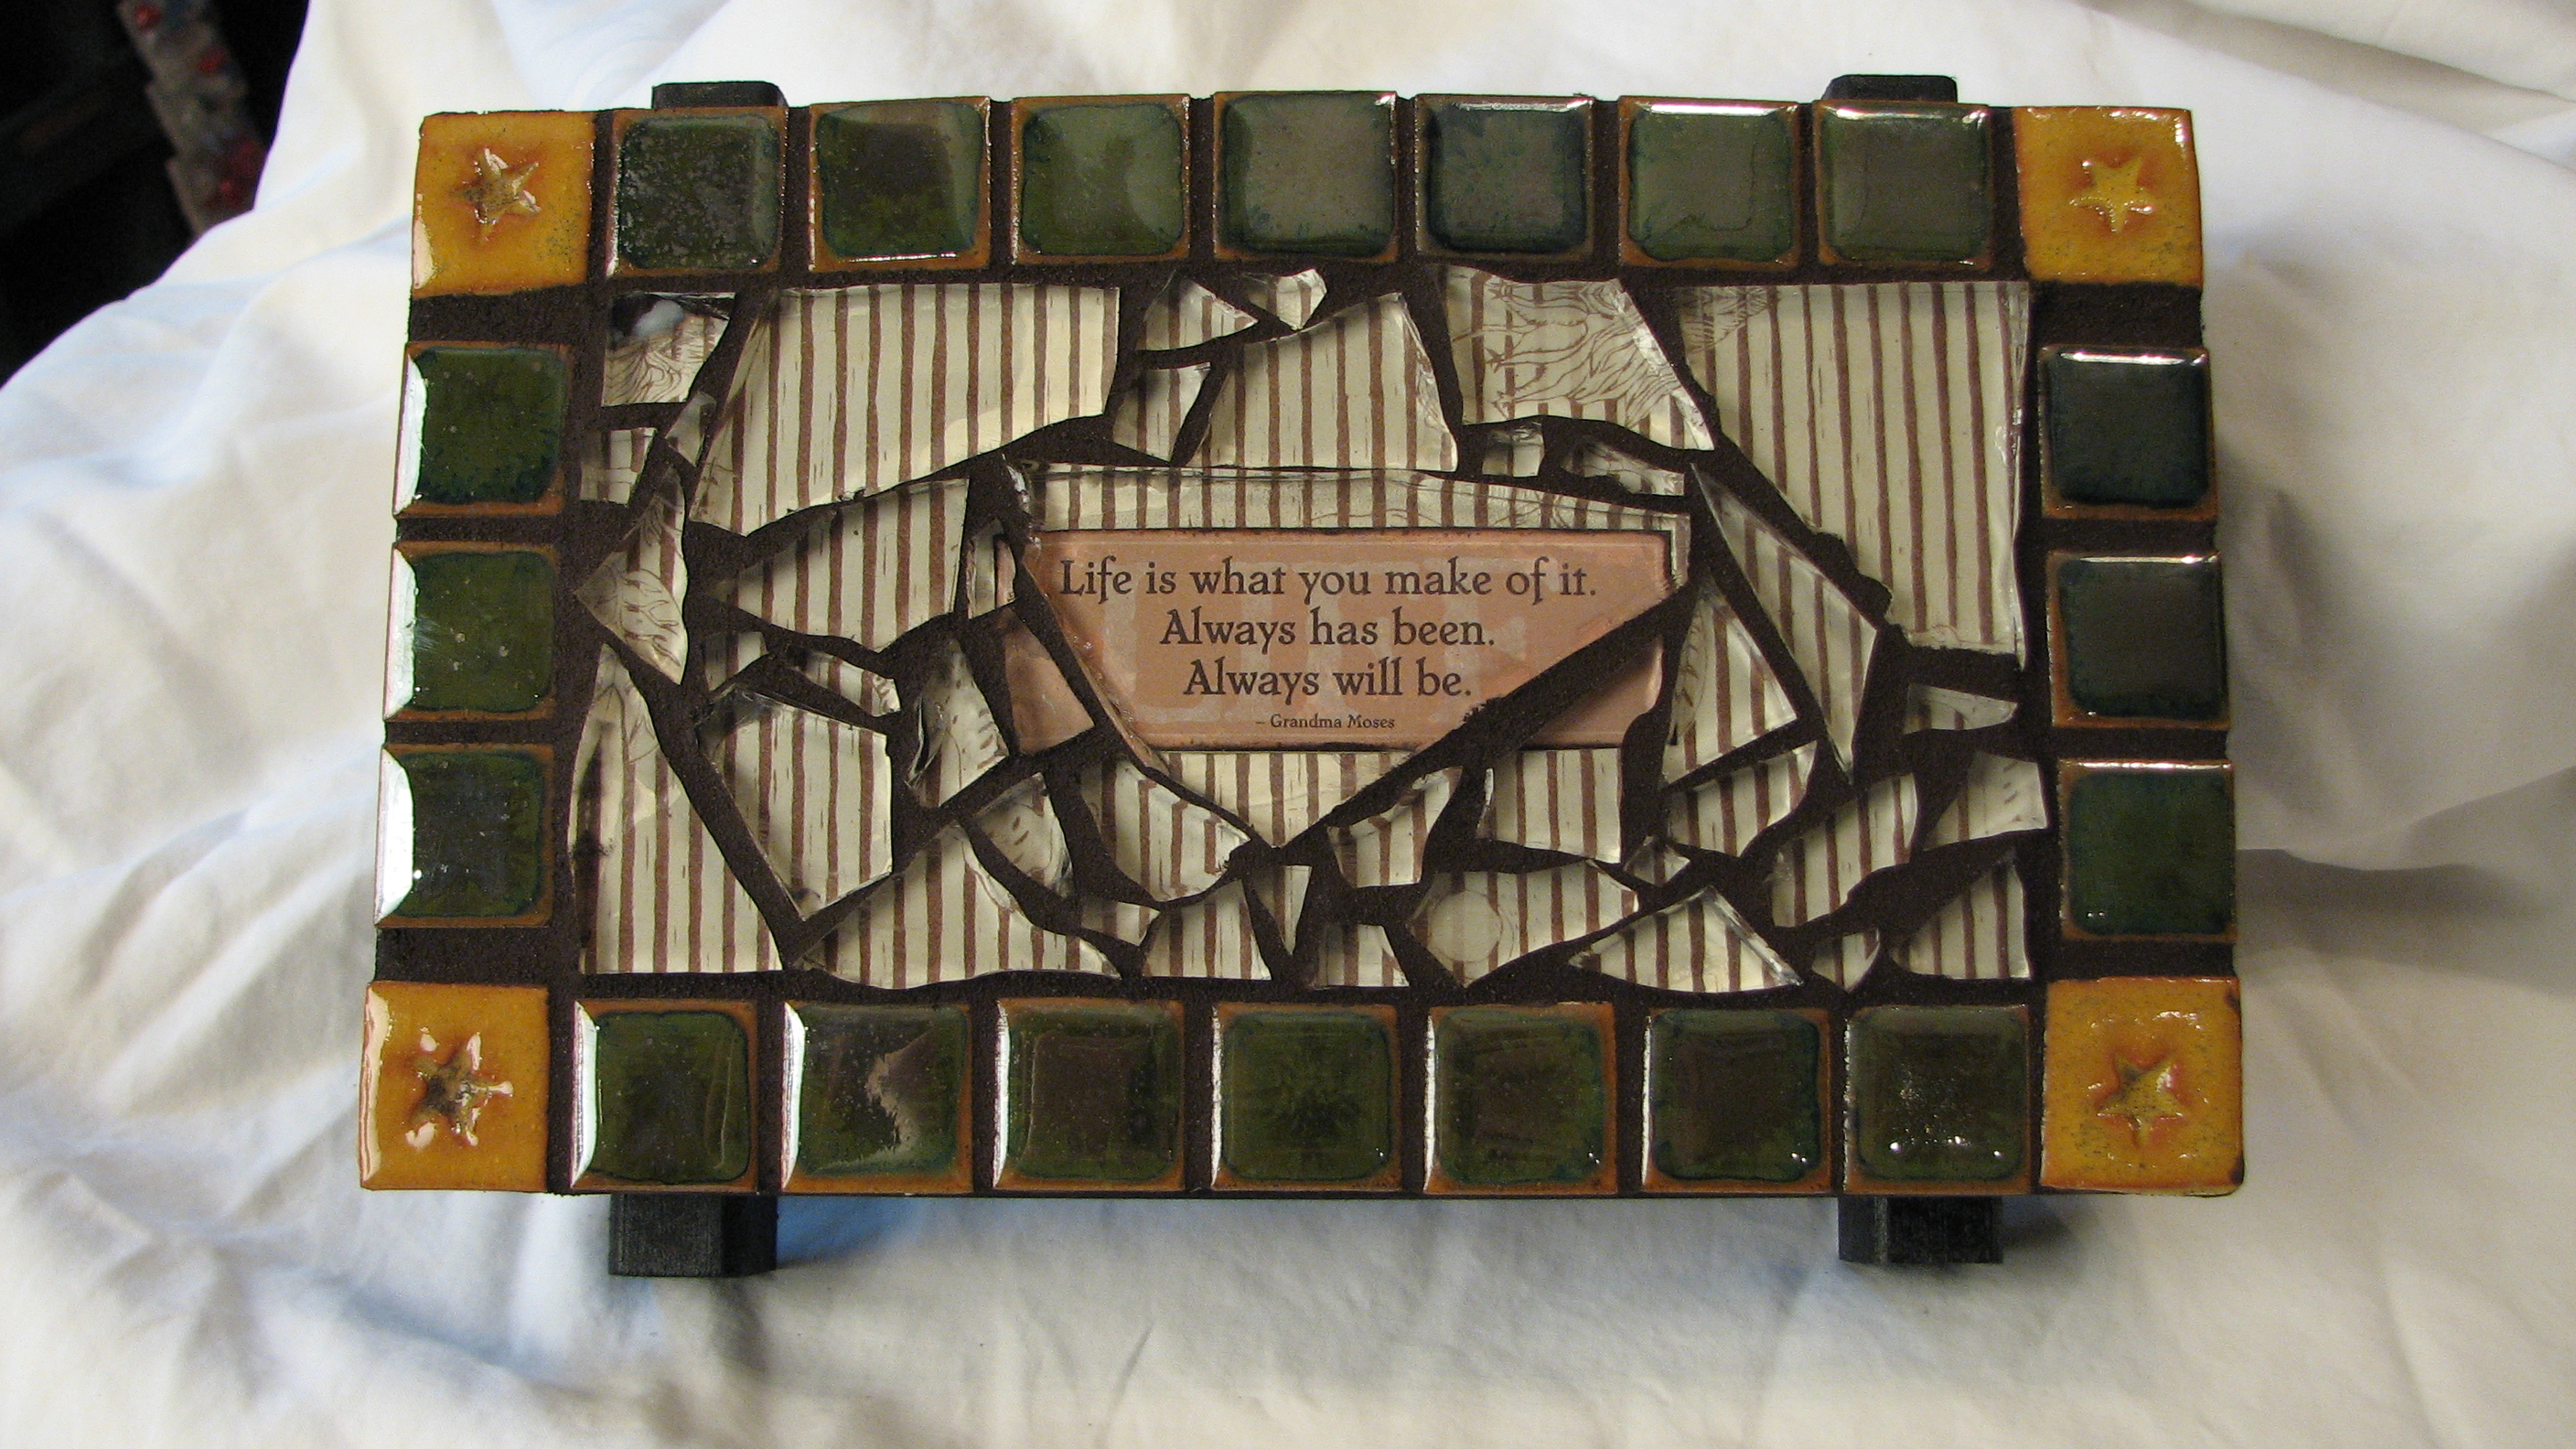
Once the piece is glued and completely dry, grout it to finish off the piece.
A great non-toxic glass collage and decoupage project, that anyone can do!
kinda wish I hadn’t sold this one
Beautiful results with less mess than other epoxy crash glass methods.


 Val was in a gluing frenzy with bowling balls and it immediately brought back fond memories of battling a 15 pound bowling ball while trying to glue things to it. Truth be told … the hardest part of mosaic tiling a bowling ball is … finding the bowling ball. Now that she’s got me going … anyone have an old bowling ball that they want to get rid of ? 🙂