For what it’s worth: it’s never too late or, in my case, too early to be whoever you want to be. There’s no time limit, stop whenever you want. You can change or stay the same, there are no rules to this thing. We can make the best or the worst of it.
I hope you make the best of it. And I hope you see things that startle you. I hope you feel things you never felt before. I hope you live a life you’re proud of. If you find that you’re not, I hope you have the courage to start all over again.
The 10-panel vintage window survived the trip from Orange, California to the Midwest. It’s a pretty big window at 5′ x 2′ ft … which meant this piece would take a huge bite out of my vintage glass collection.
The vintage windows I look for have to be sturdy, with clear glass that doesn’t wiggle or show separation (rotting) from the frame … not even a little bit.
I use a clear adhesive to glue the glass to the glass, in a well ventilated room, with a wheeled tile cutter, a small hammer – on a sturdy surface – wearing safety glasses with a first aid kit near by … but not children or pets. Safety First – Always wear safety glasses when breaking or cutting random glass dishes, cups and/or glass objects. Depending on the type of glass they can and some will shatter in a bazillion pieces … maybe more. Be careful.
Clean the window with a vinegar & water mixture – a couple of times – and let it dry. Glue glass pieces into place filling in with cut glass pieces, clear glass gems, marbles and the like …
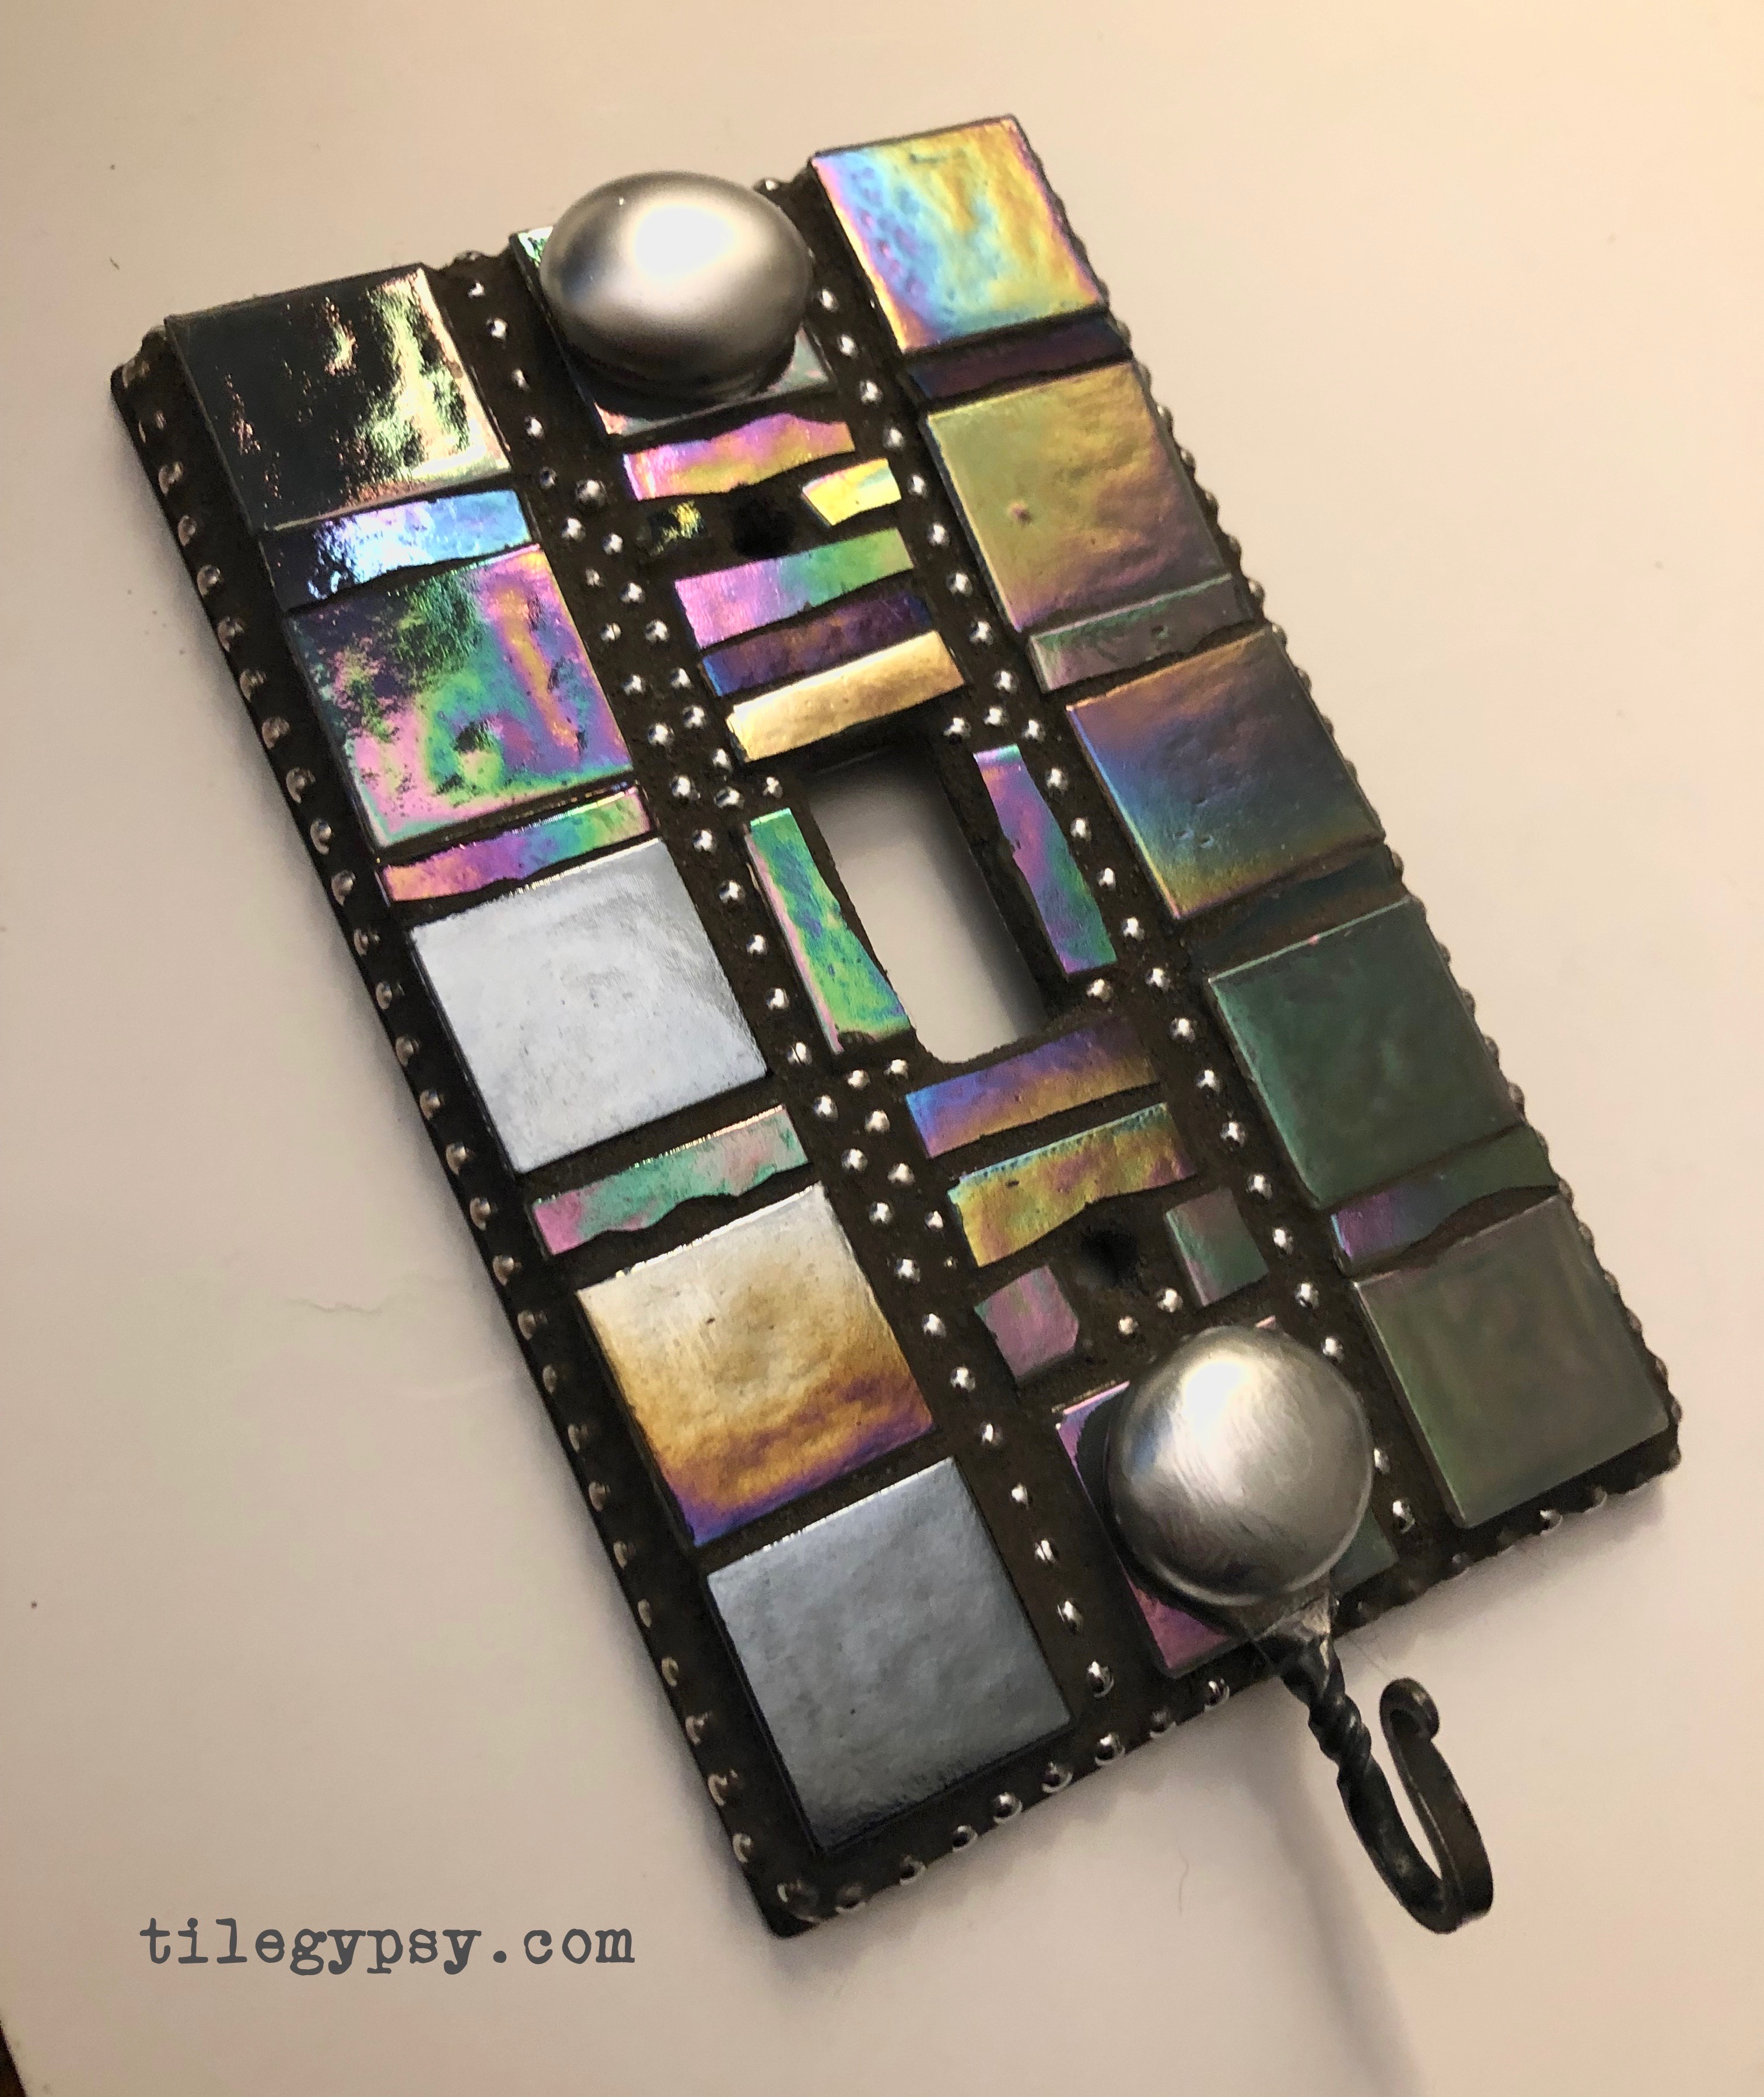
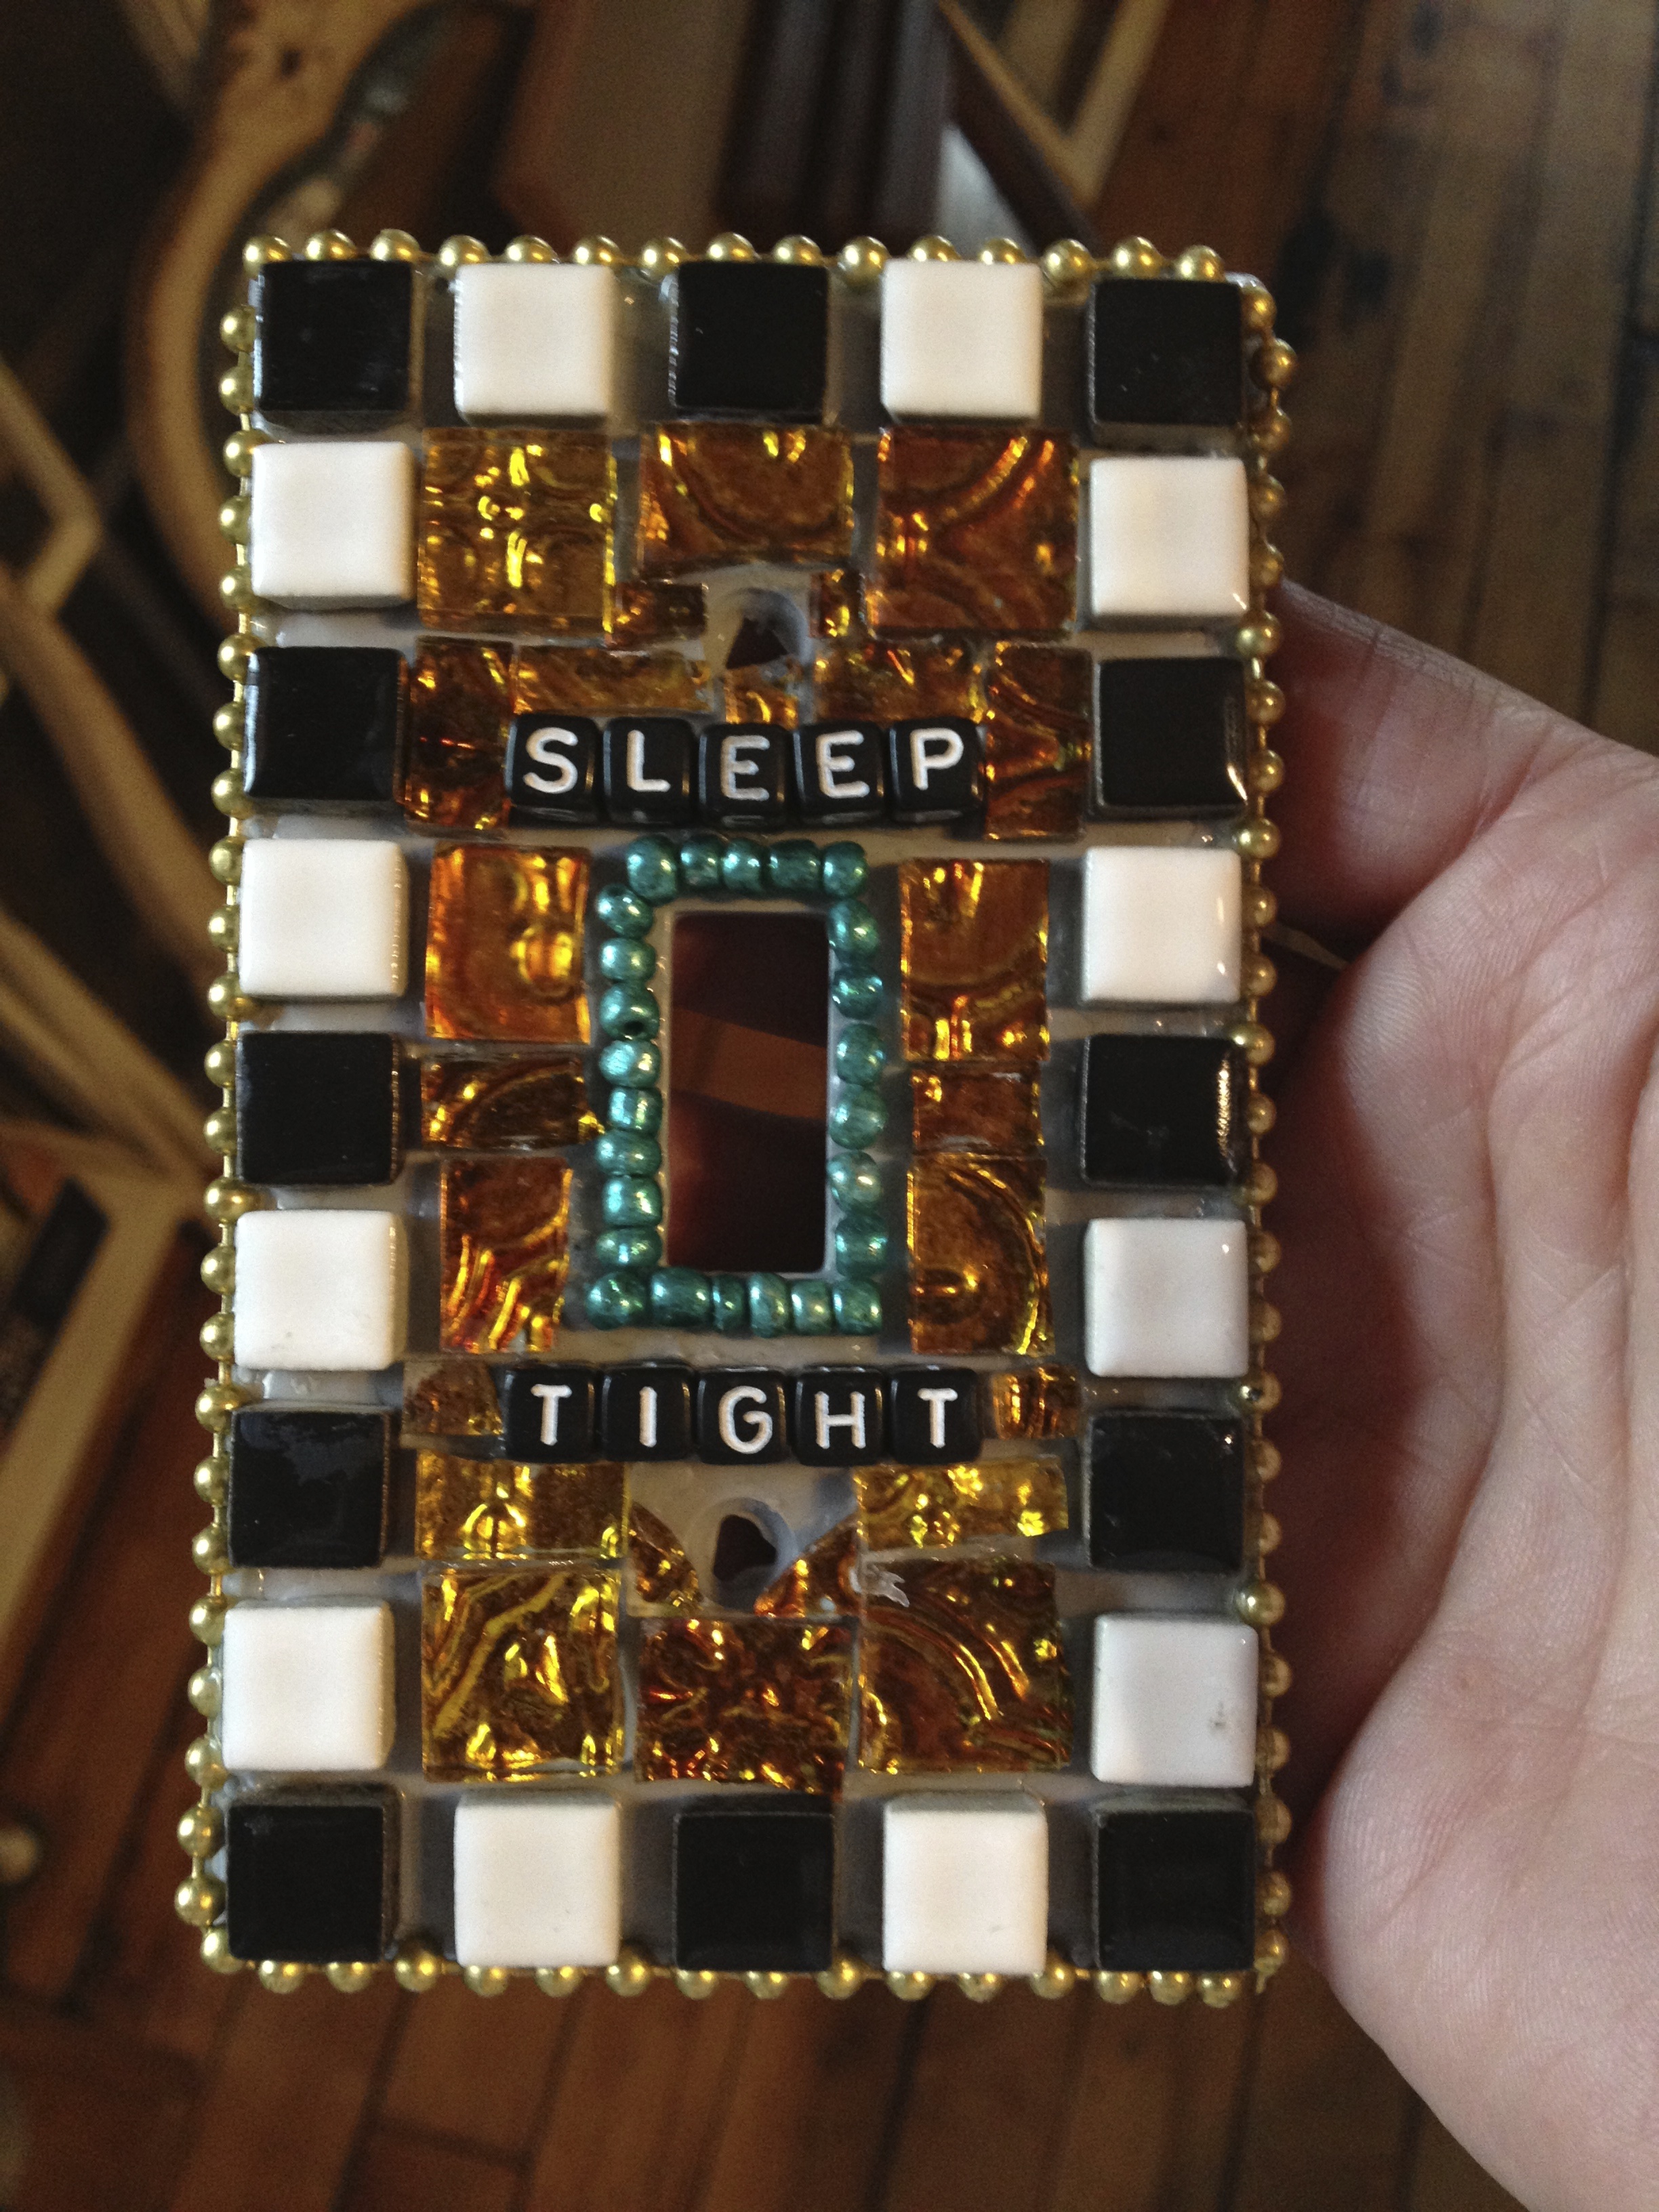
Creating a mosaic tile switch plate cover @ tilegypsy.com
DIY Light Switch Covers:
Start with a HARD plastic light switch cover … found at home improvement and hardware stores. If the plastic is bendy … pass.
You can use wood and metal light switch covers too. Makes no never mind. 😉
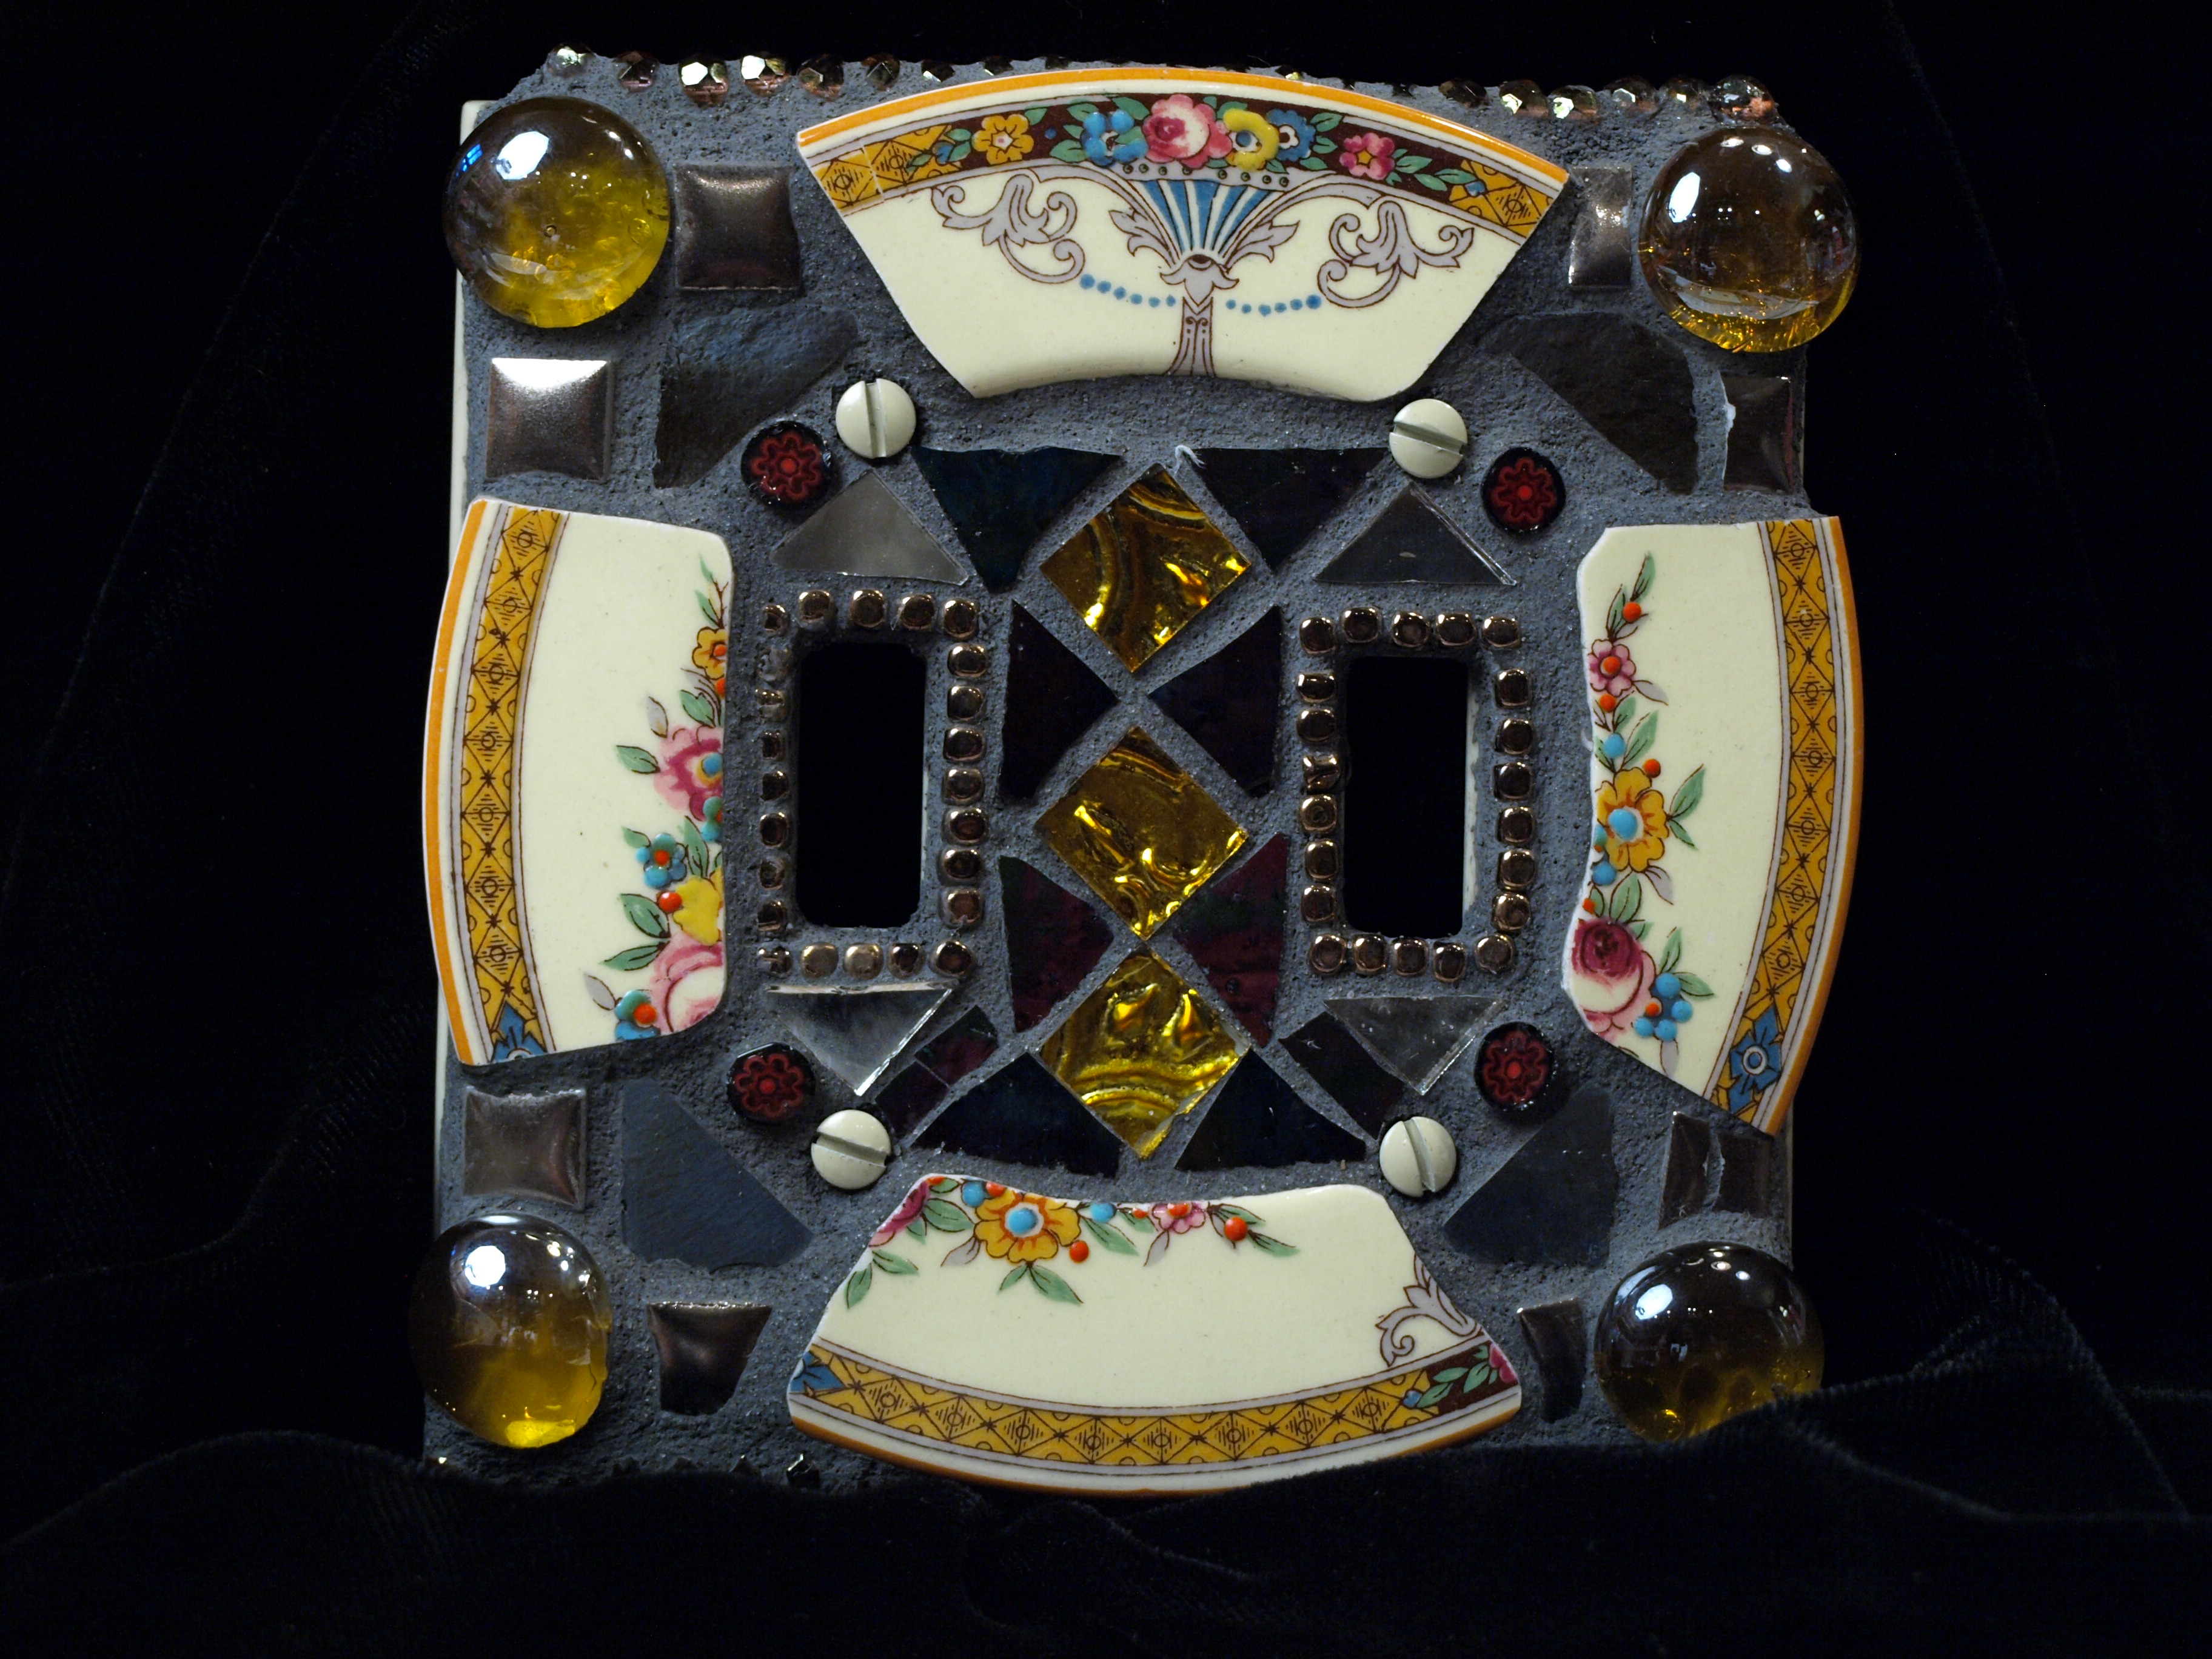
Glue color fast beads and/or tile around the light switch opening with Weldbond.
Then glue the outside edge to establish how much room you have left (in the middle) to work with.
Glue the rest of your design and let it dry for a couple of hours.
Finish by gluing color fast beads – or ball chain – around the outside of the light switch cover. Let dry for a minimum of 24 hours.
Before grouting cover delicate items (jewels etc) with painter’s tape.
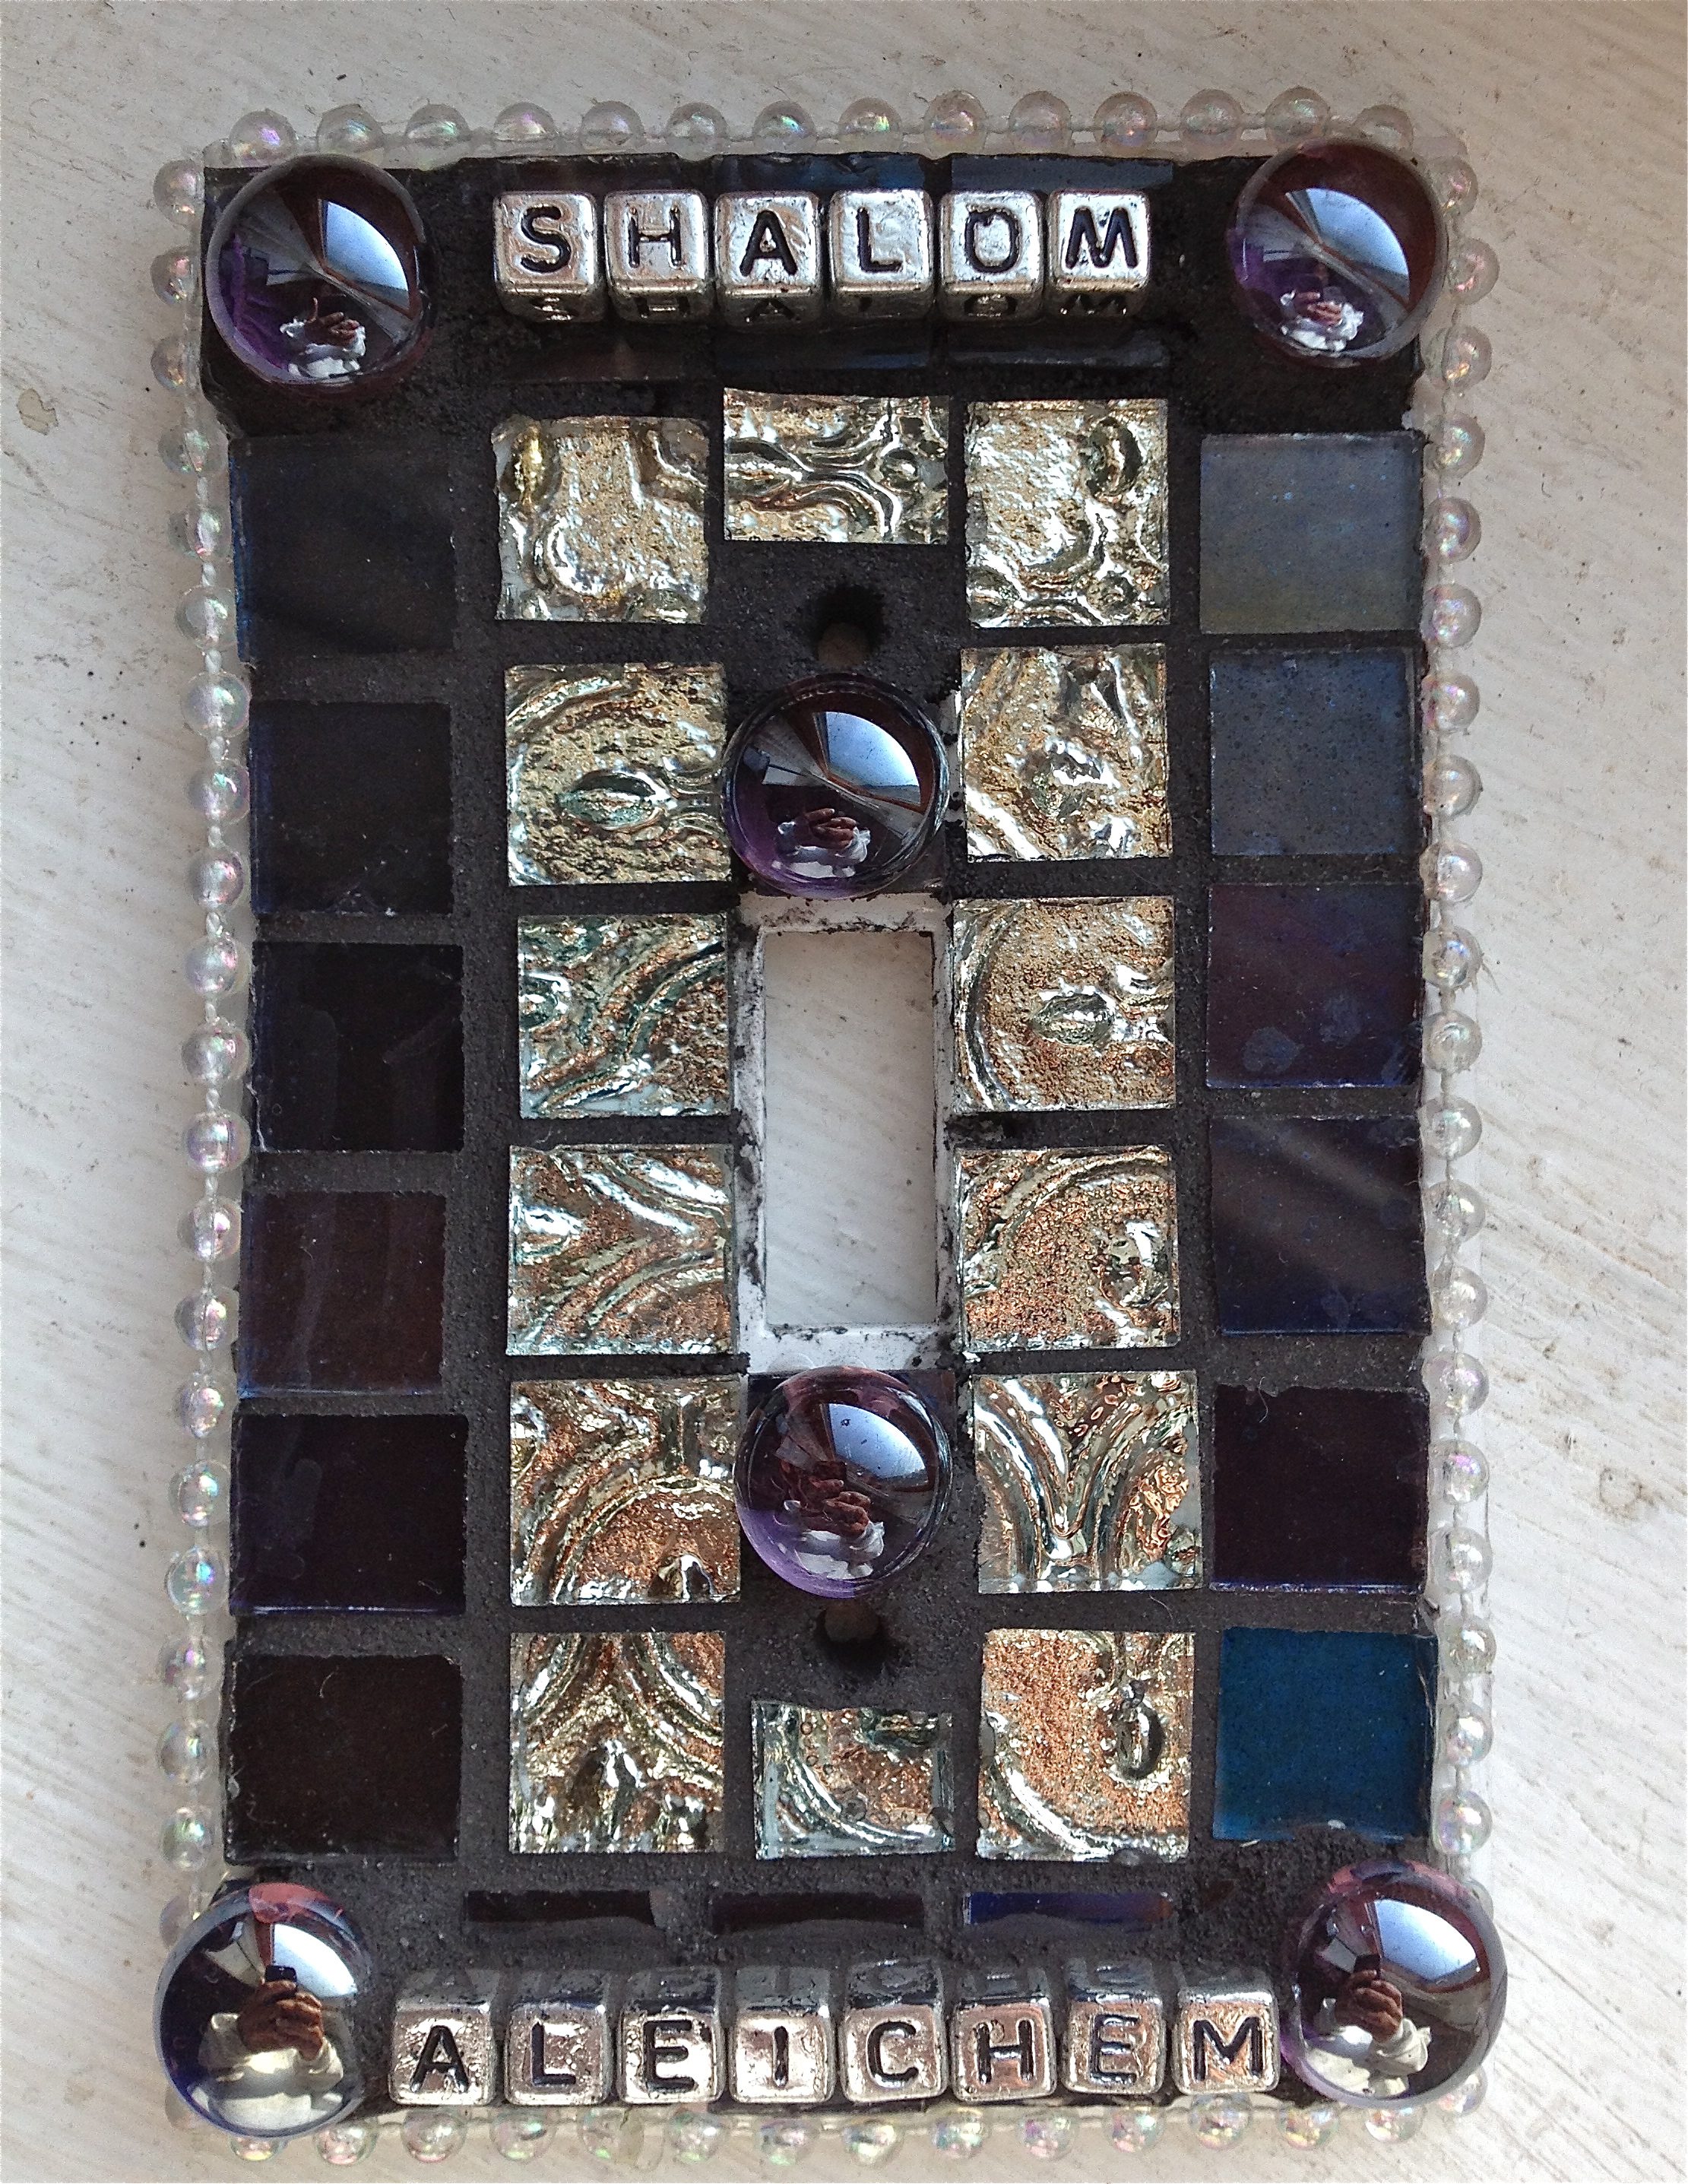
Confident that the light switch cover is completely dry… mix sanded grout (color of choice) with a liquid grout additive, instead of water, for more flexibility, to an oatmeal consistency.
Put on gloves … Grout On – I know it’s a weird feeling covering it with mud – keep going filling and smoothing all the nooks and crannies – pause – smooth – pause – 😉 and Grout Off with a slightly damp sponge. Rinse and repeat until clean and smooth. Remove tape from delicate items. Finish gently cleaning and smoothing until shiny and free from grout residue. Let dry overnight. Shine a bit more and gently install.
Sold. Thank you.
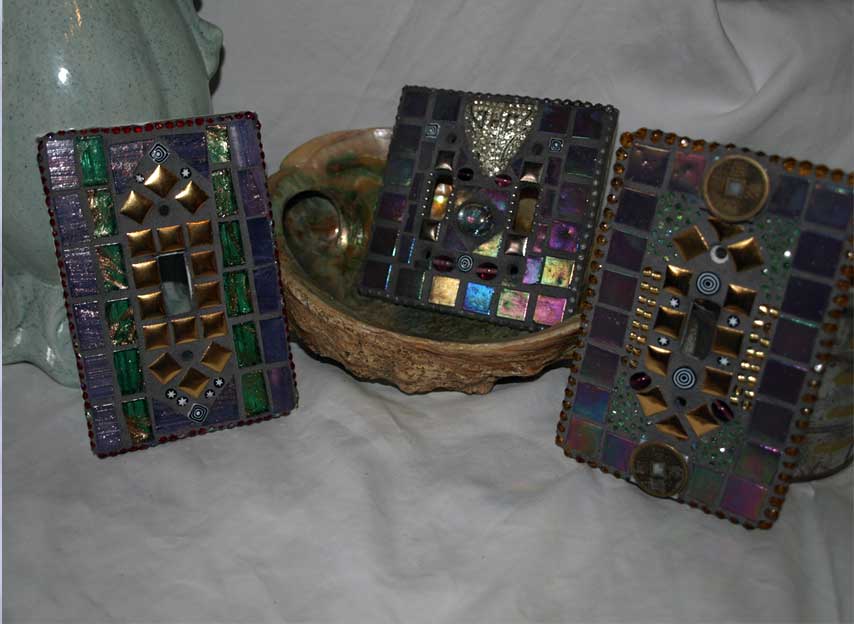
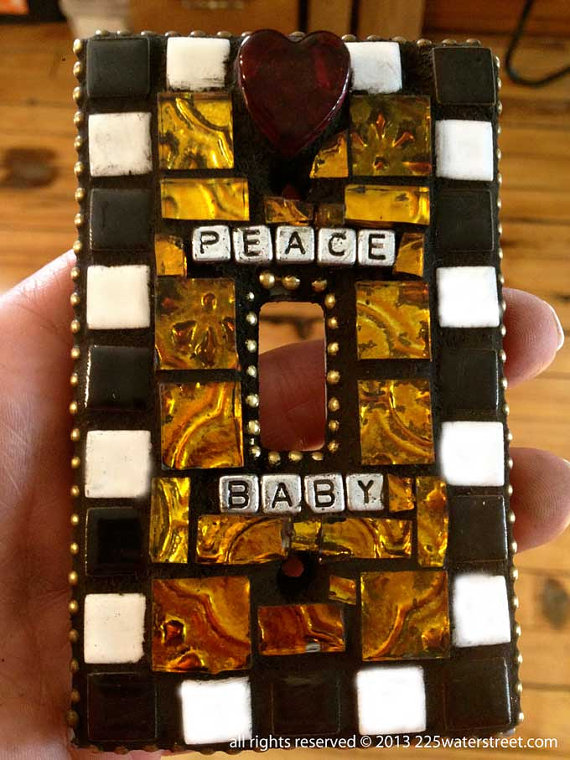
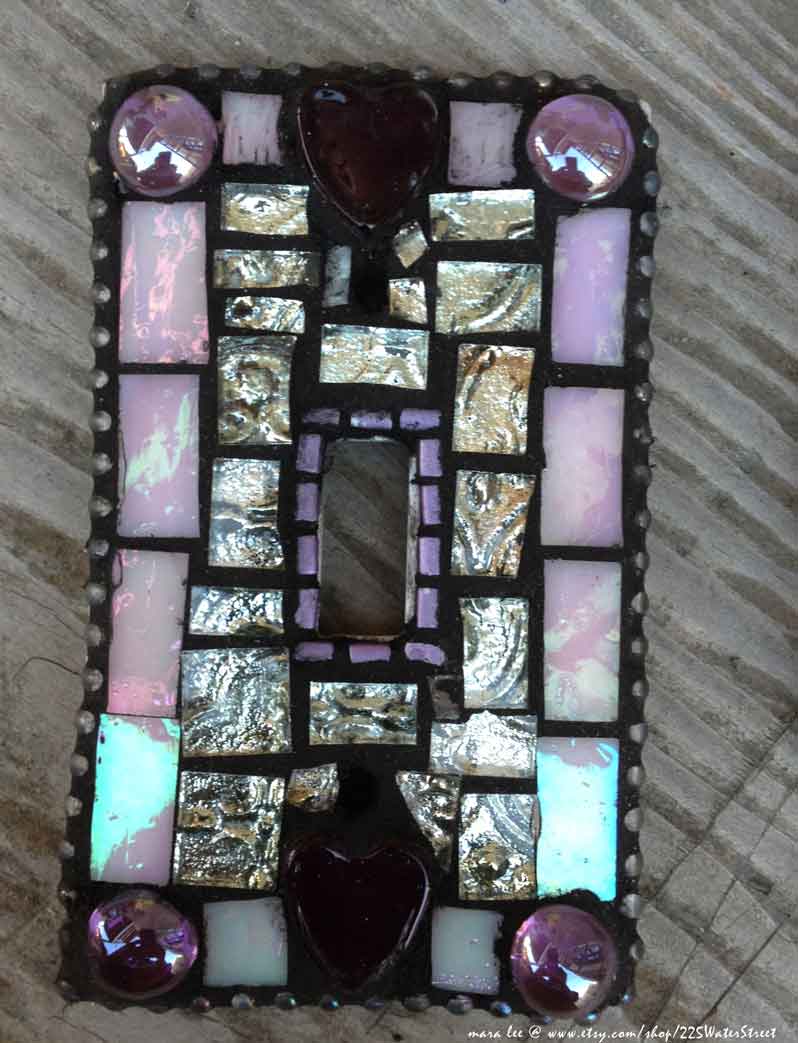
Custom Mosaic Tile Switch Plate Covers • middle and right piece are sold.
MATERIALS:
Switch plate covers of your choice. Plastic, wood or metal
Weldbond Adhesive
Painters Tape
Wheeled Nipper & Sm Hammer
Bits and pieces of ceramic tile, china, jewels etc.